| Version 3 (modified by , 5 years ago) ( diff ) |
|---|
SLACK Setup Example
Creating a Workspace to your Institute
- If your Institute doesn't have a slack workspace and if you are the Network Admin, We suggest signing up for a Free account. Others can be added as members later.

- Use your Official Email Account
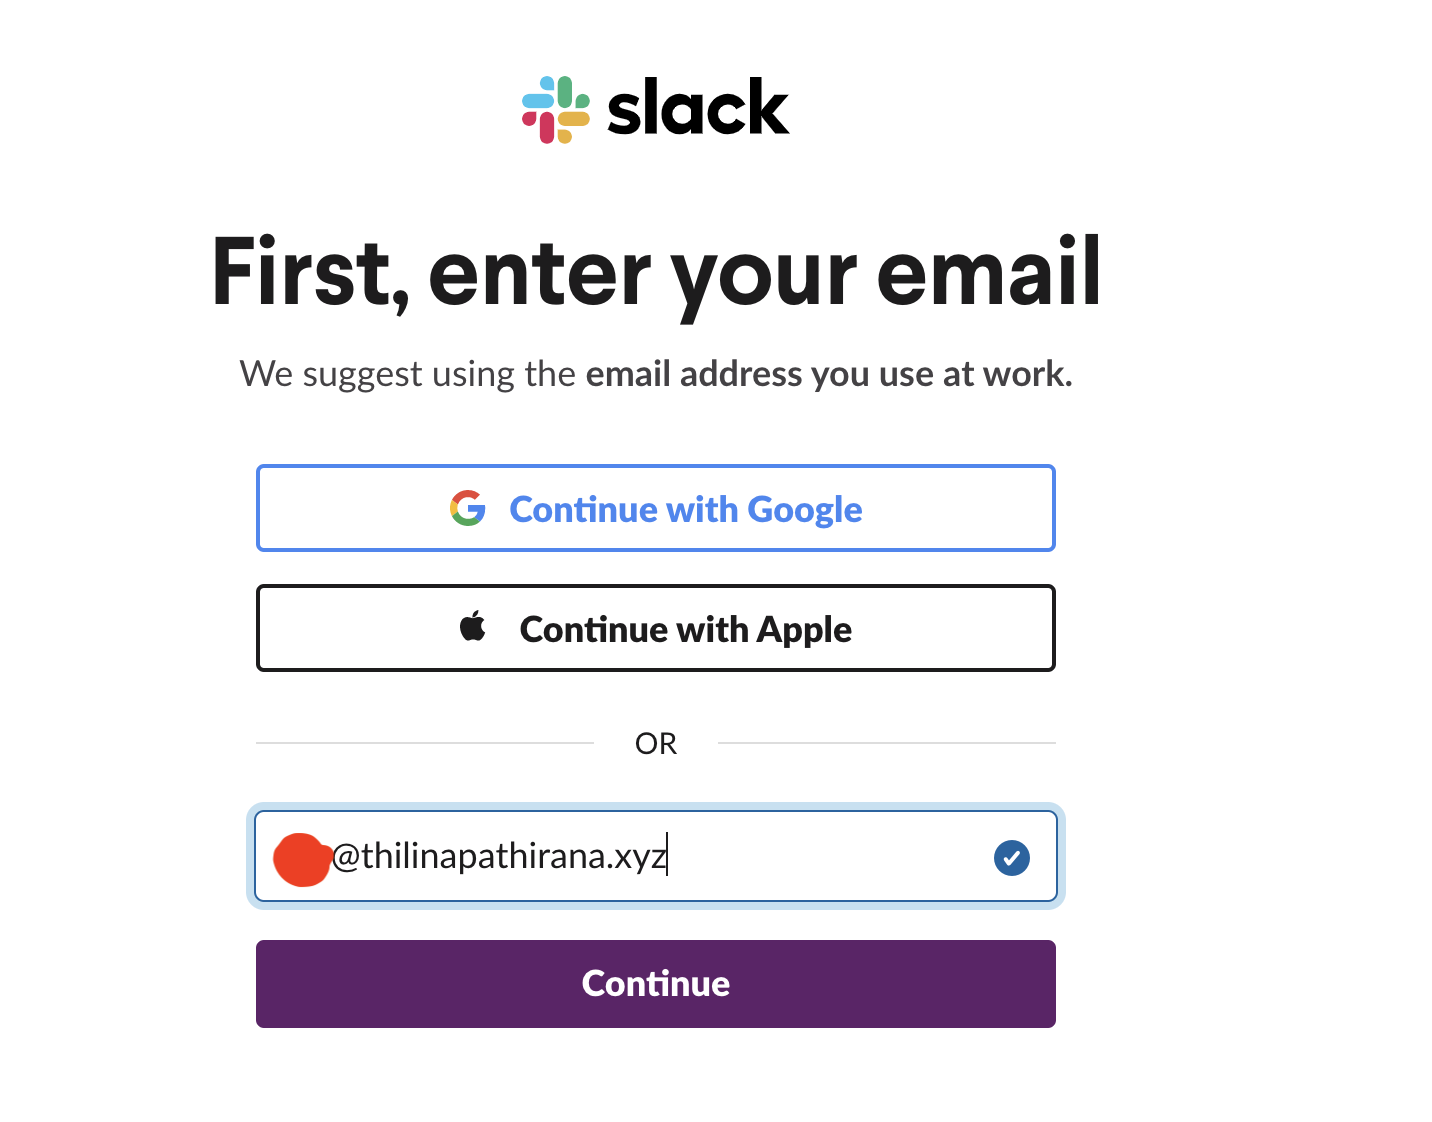
- Click Create a Workspace

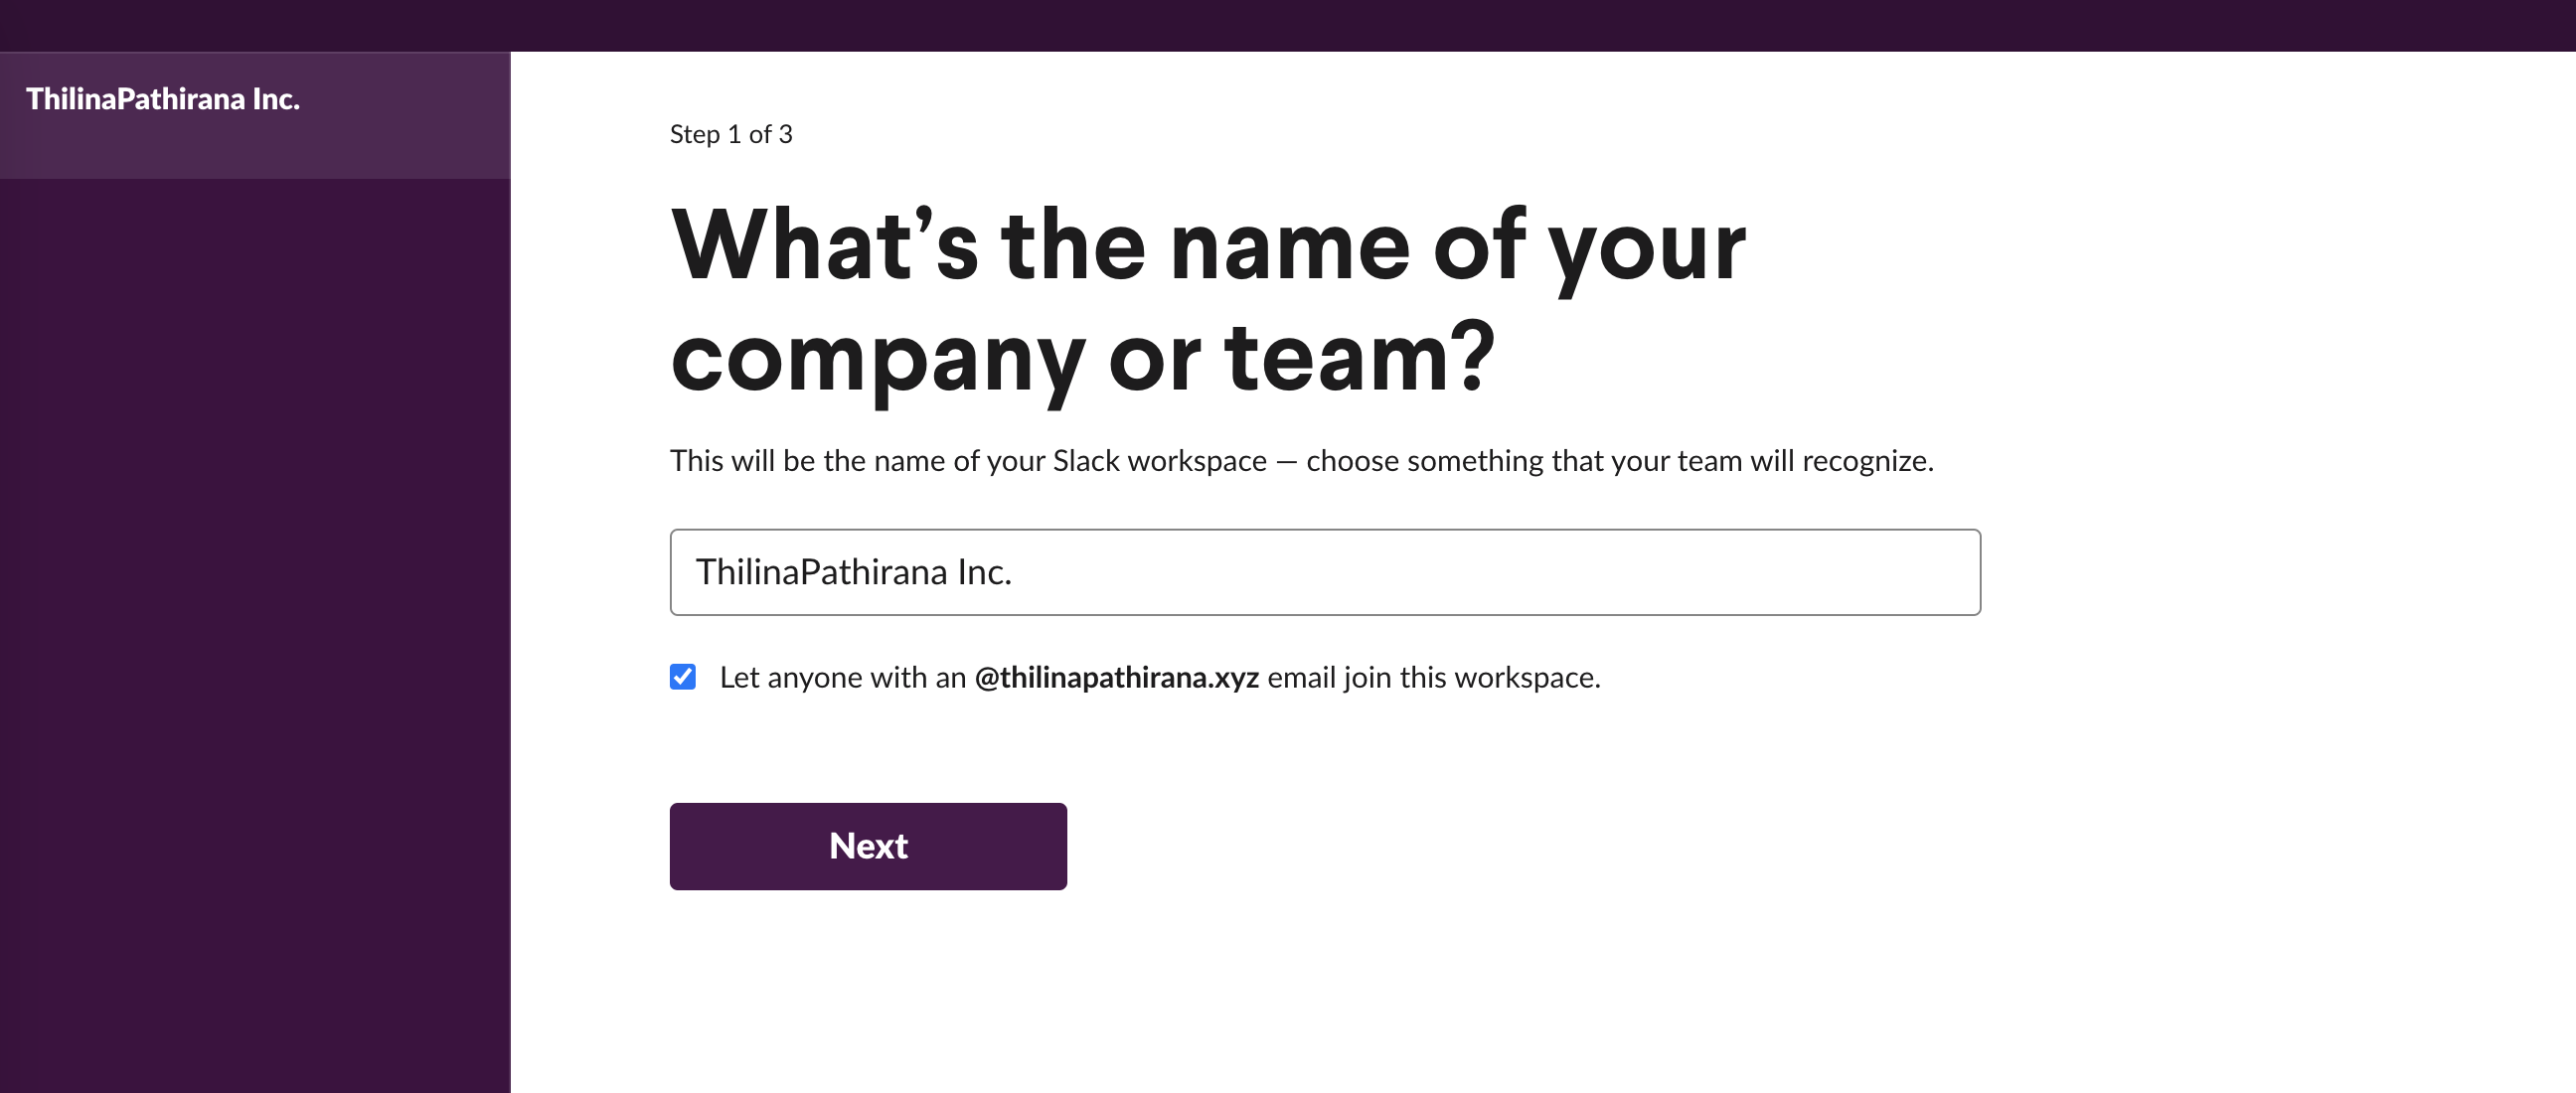
- Give your Institute's name and make sure below option box is ticked.
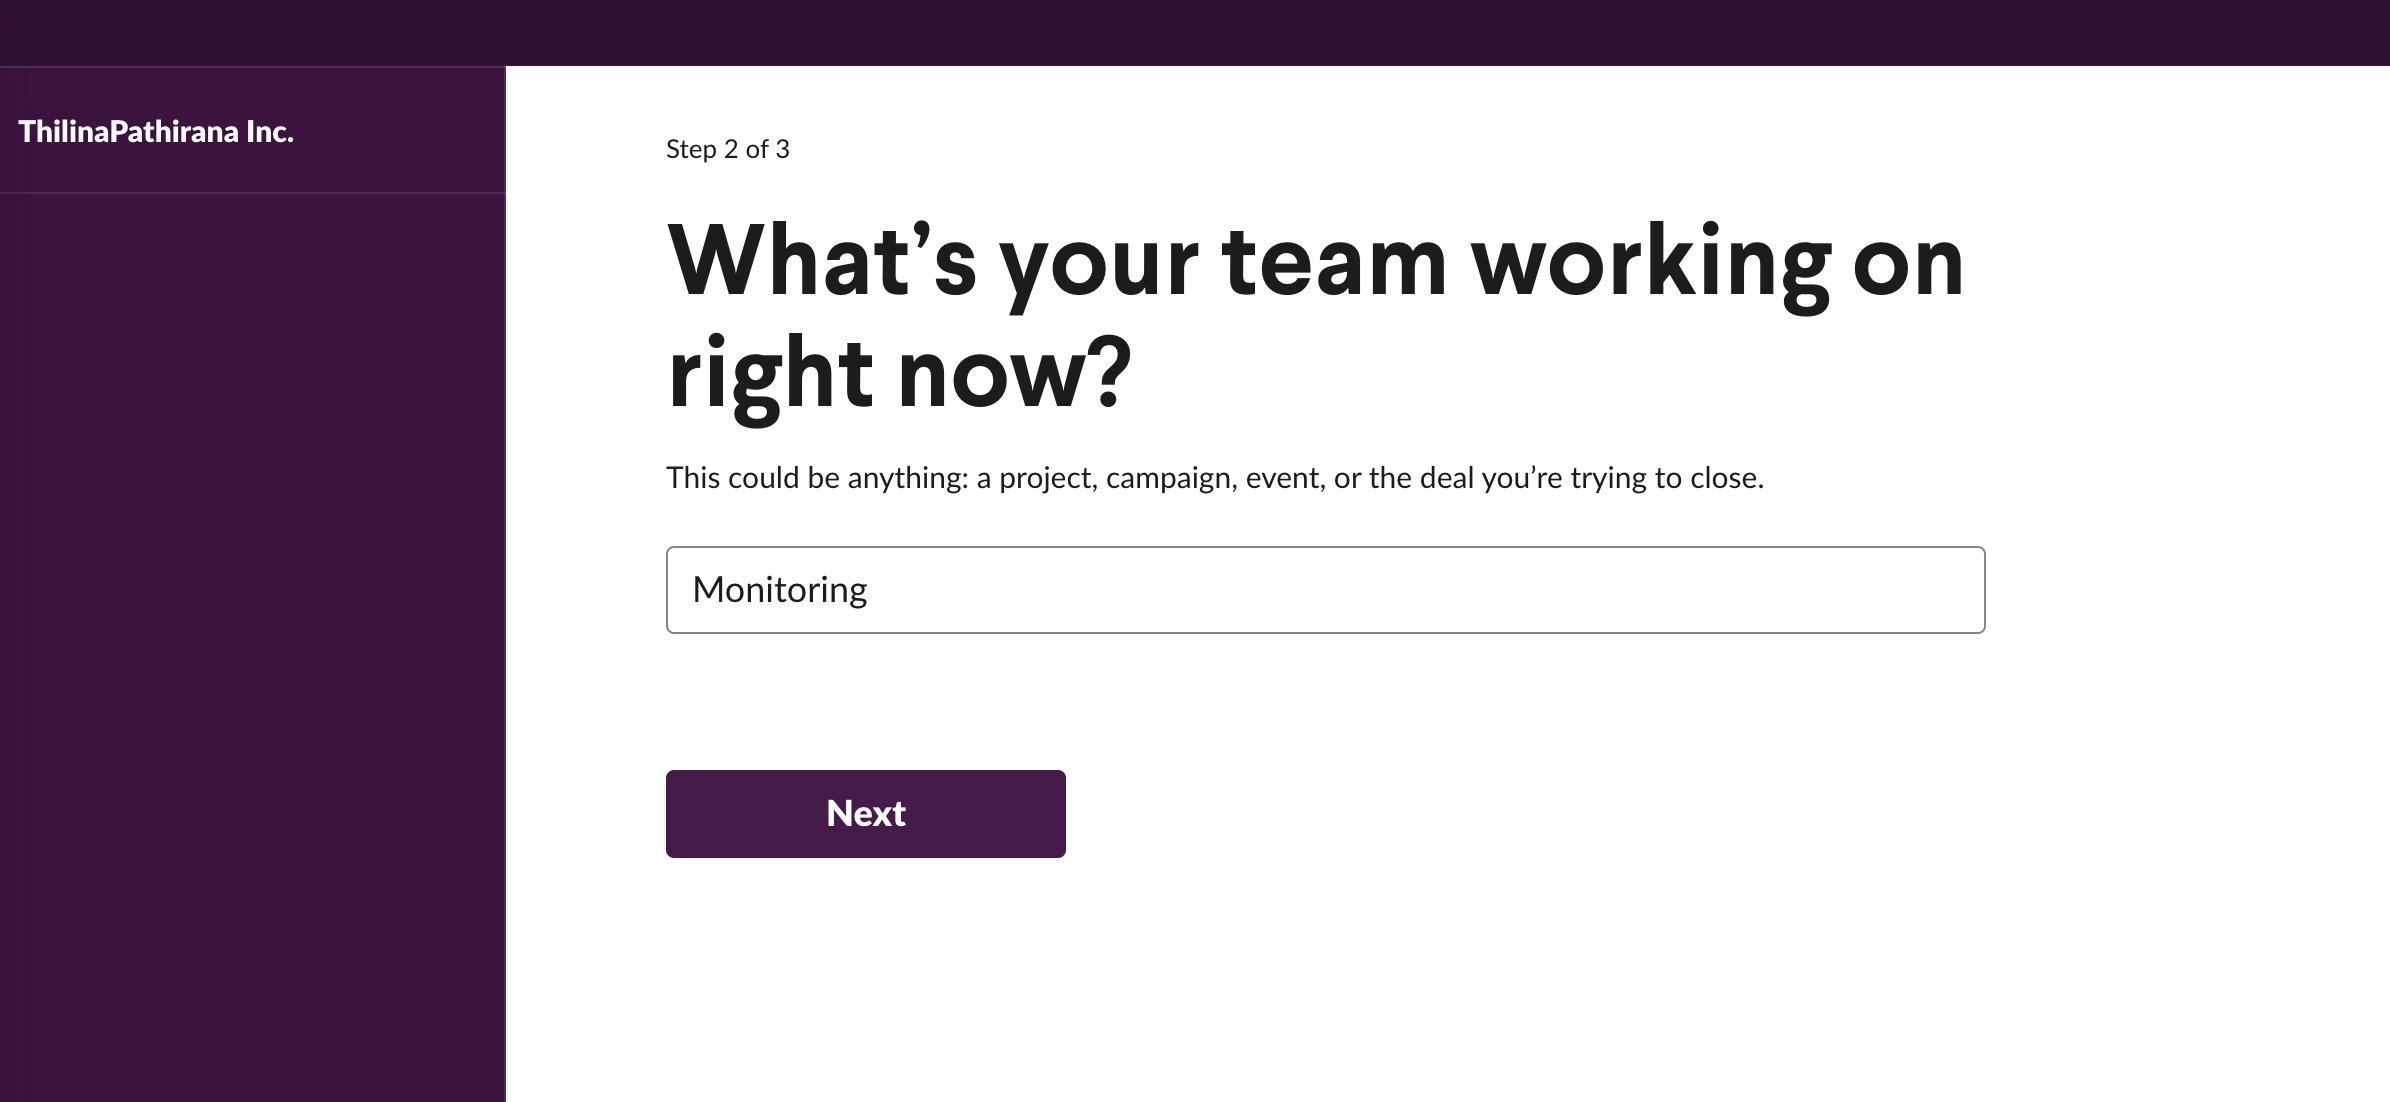
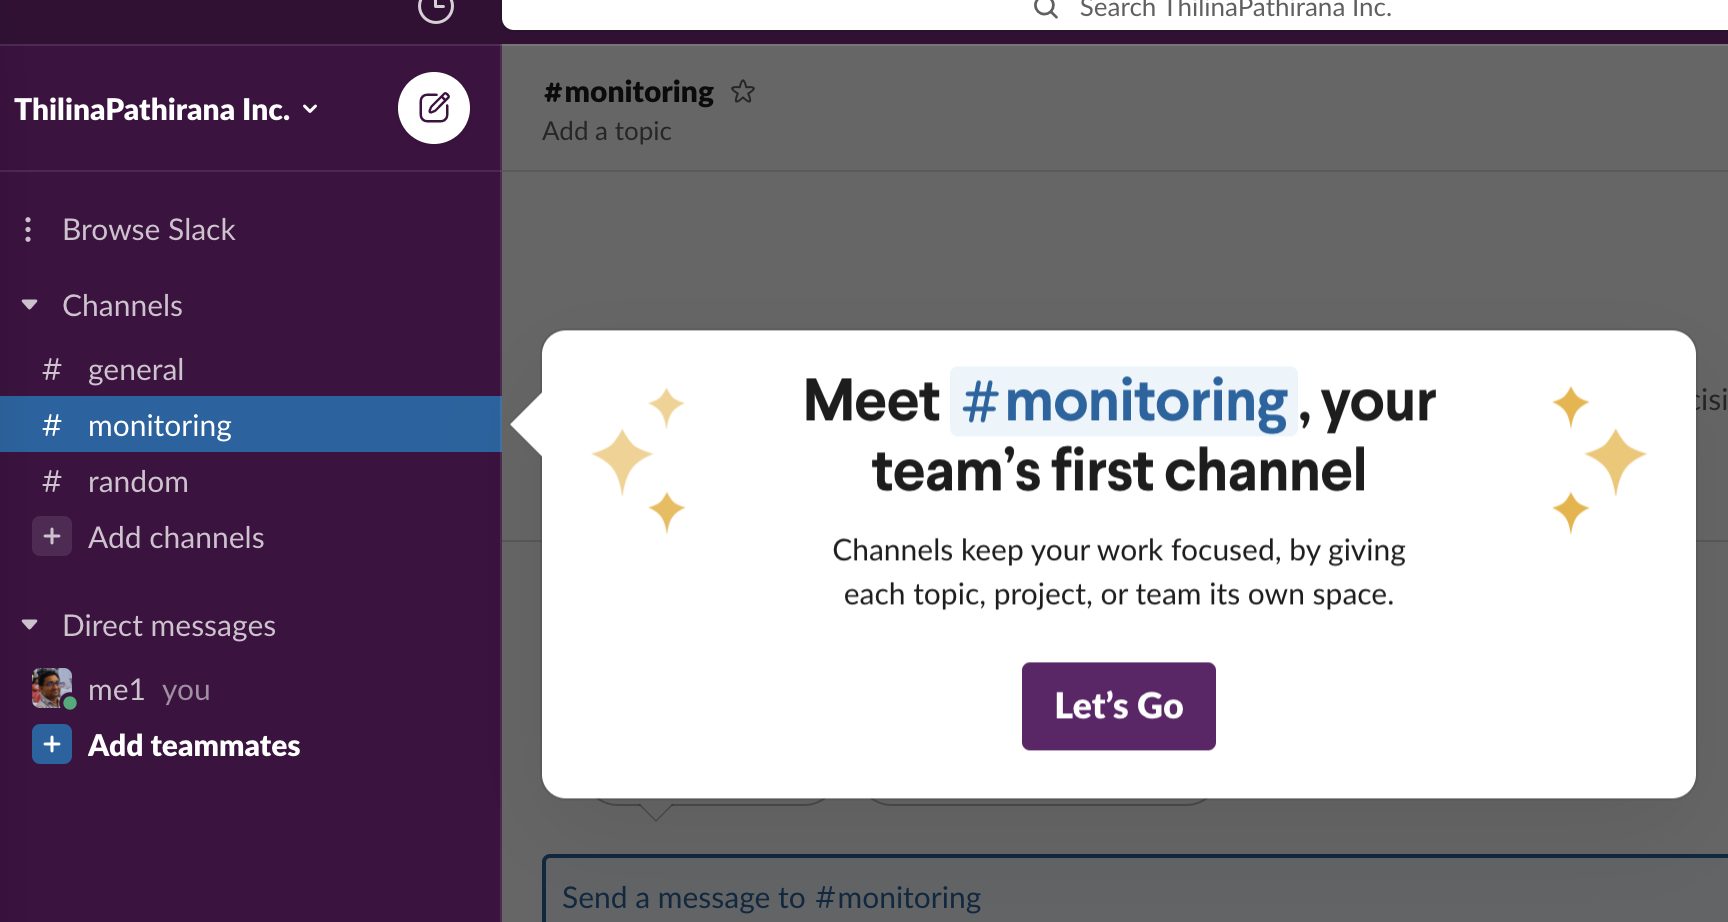
- Type Monitoring, this will create a specific channel which can be later used for alerting
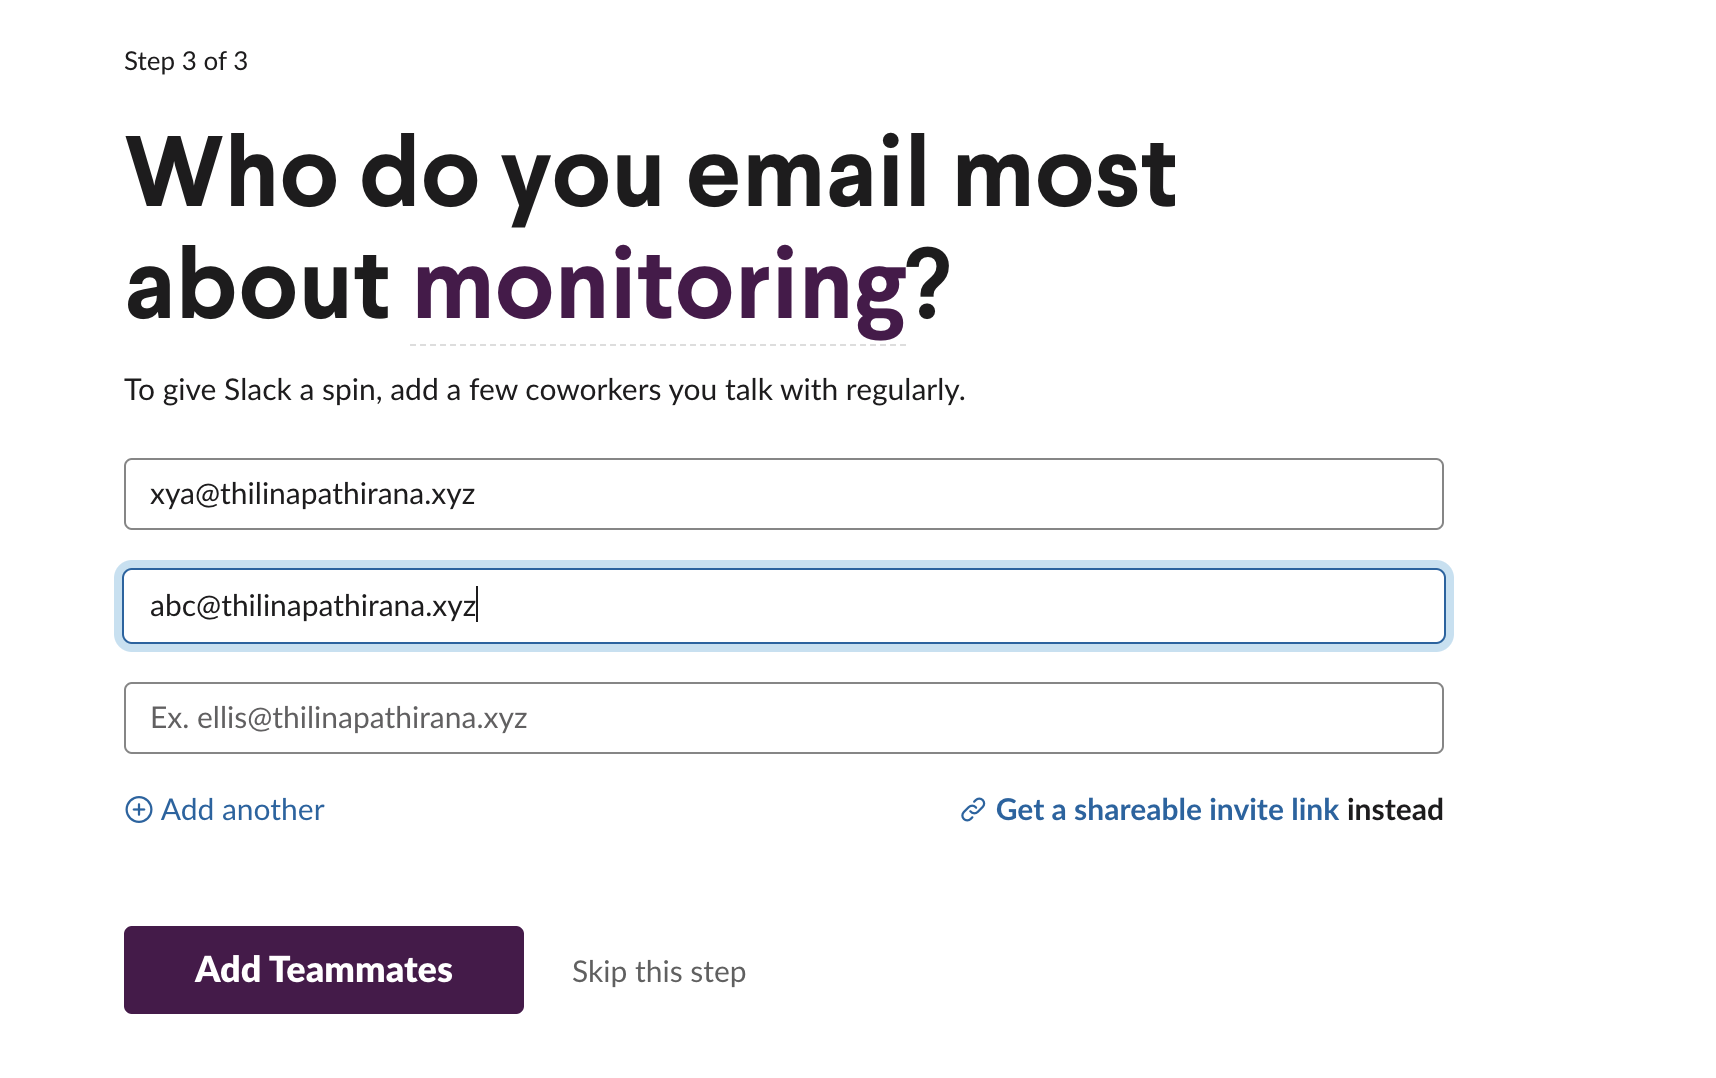
- Add email addresses of your other colleagues.
- Highly recommend to download the application.

- Once completed, you will see Monitoring Channel
Creating APP
- Go to https://api.slack.com/messaging/webhooks and follow first three steps.
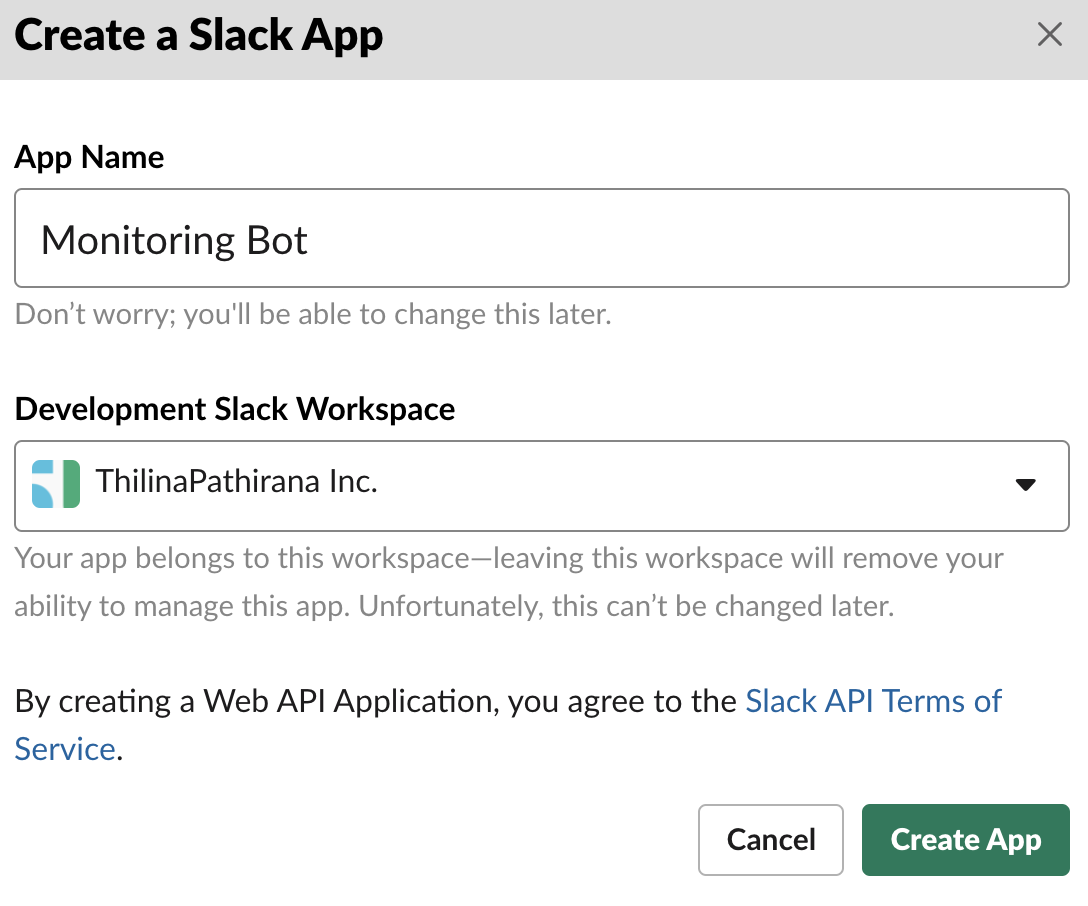
- Create SLACK APP by giving an appopriate App Name, Select your workspace and by clicking Create App.
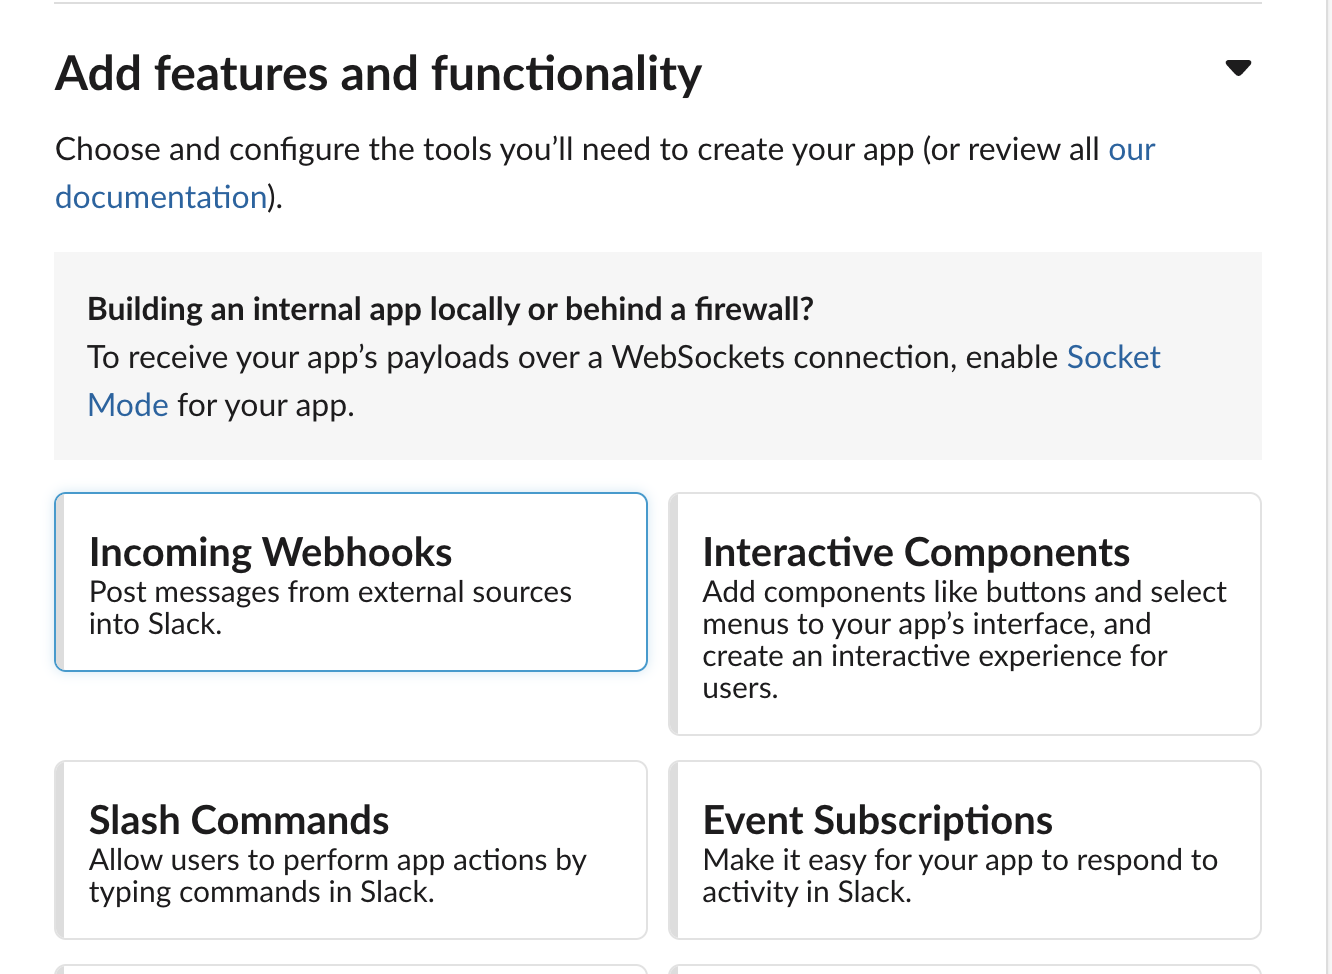
- Select Incoming Webhooks
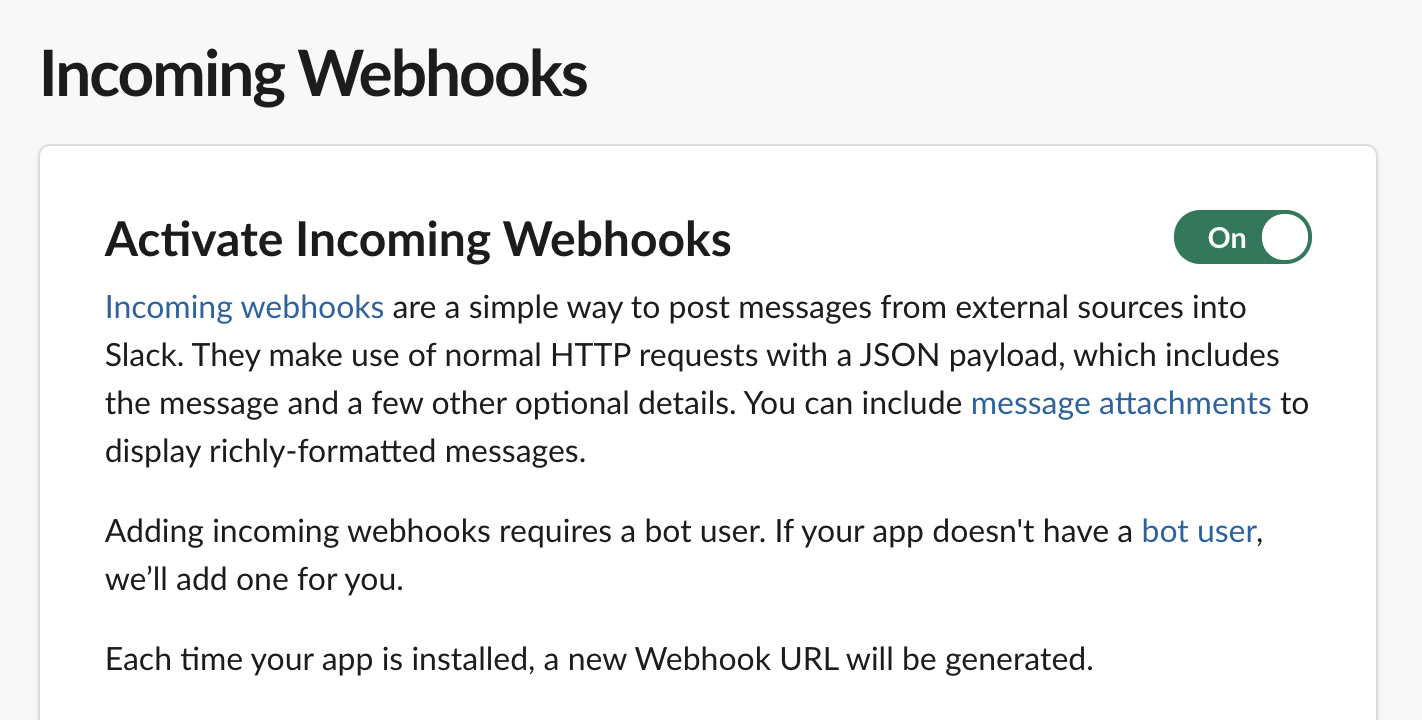
- Activate Incoming Webhooks by making the switch to
On
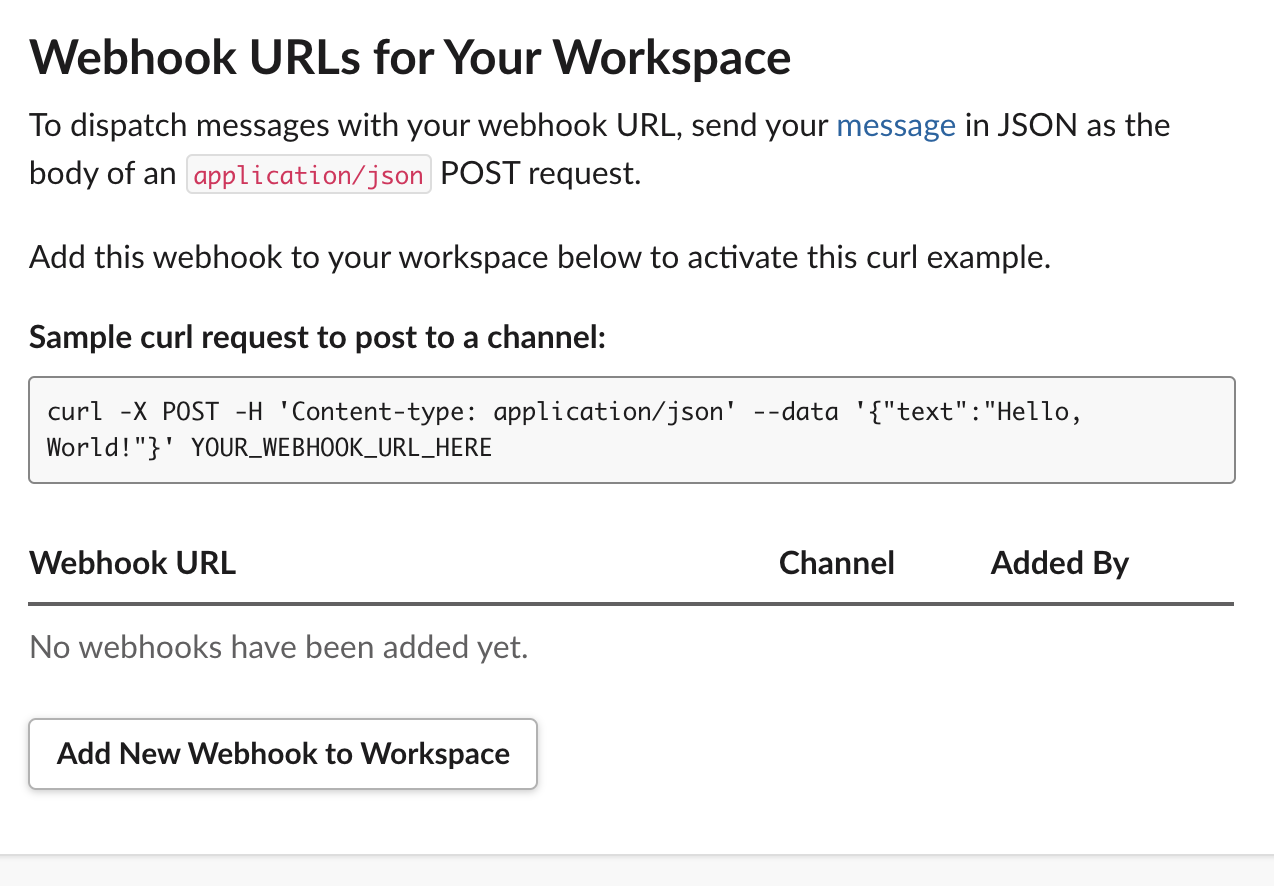
- Create a new Webhook by clicking the button
Add New Webhook to Workspace
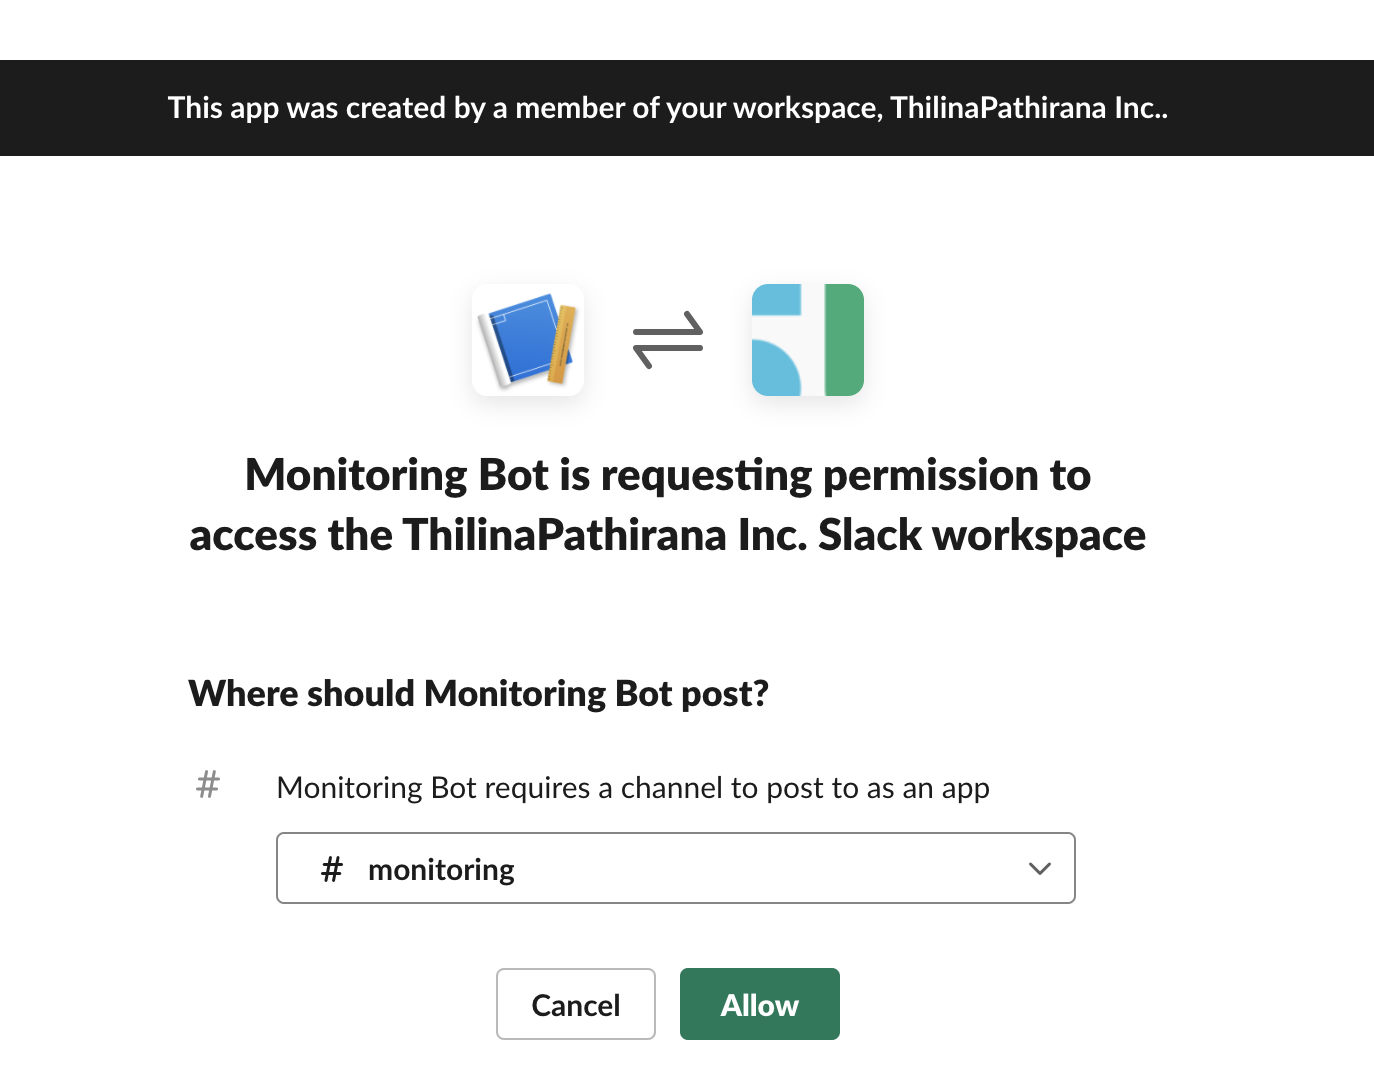
- Include Monitoring Channel to the Bot
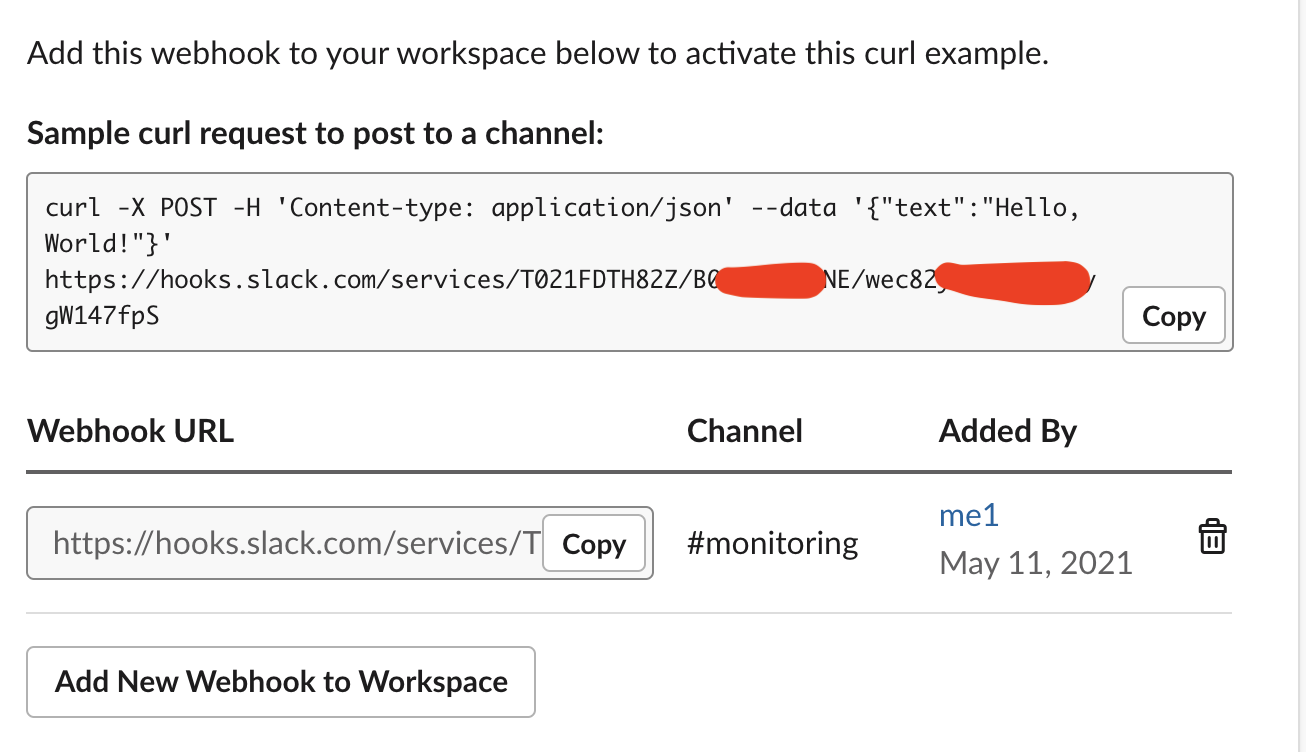
- Once the webhook is created, copy the url, Make sure to keep it a secret. (You can use the sample content to check connectivity from your console)
Attachments (12)
- Workspace-st1.png (164.9 KB ) - added by 5 years ago.
- Workspace-st2.png (138.4 KB ) - added by 5 years ago.
- Workspace-st3.png (154.6 KB ) - added by 5 years ago.
- Download-slack.png (120.1 KB ) - added by 5 years ago.
- Monitoring-Channel.png (201.7 KB ) - added by 5 years ago.
- Manage-members.png (224.1 KB ) - added by 5 years ago.
- Change-acc.png (57.4 KB ) - added by 5 years ago.
- Change-acc-admin.png (111.8 KB ) - added by 5 years ago.
- Backtoslack.png (225.8 KB ) - added by 5 years ago.
- Create-workspace.png (207.8 KB ) - added by 5 years ago.
- Slack-first-email.png (111.7 KB ) - added by 5 years ago.
- Slack-try-free.png (133.5 KB ) - added by 5 years ago.
Download all attachments as: .zip
Note:
See TracWiki
for help on using the wiki.
