
Preparing Host Machine for KVM
For this lab we will be using a Ubuntu 20.04 Desktop VM running on VirtualBox. To make lab easy we have uploaded a pre-installed disk file and you can download it from the URL http://192.248.4.120/VMs/Ubuntu-20-KVM-Desktop.ova . Please download it and import to your VirtualBox. Once imported run it you may need to change VM hardware configurations like CPU and Memory to suit your computer. Select the VM and go to settings window. Change CPU and Memory to suit your availble resources. Go to Network tab make the Attached to: value to 'Bridged Adapter' and select the connection you are connect from Name: drop down list.
KVM Installation
KVM, (Kernel-based Virtual Machine) is a free and opensource virtualization platform for the Linux kernel. When installed on a Linux system, it becomes a Type-2 hypervisor.
Here we look at how to install KVM on Ubuntu 20.04 LTS.
To enable KVM virtualization you need to enable virtualization for your processor. Since we are using either Intel or AMD based processor we need to enable VT-x/AMD-V on the host machine. But our Ubuntu Desktop is not on a bare-metal and it is also a VM. Then we need to enable Nested virtualization for the Ubuntu Desktop VM. To enable this go to System => Processor and select the check box 'Enable Nested VT-x/AMD-v'. If it is greyed out then open the terminal on your computer and enter below.
Note: In Windows you may need to go into the directory C:\Program Files\Oracle\VirtualBox and enter the below commands.
VBoxManage list vms
VBoxManage modifyvm <VirtualMachineName> --nested-hw-virt on
Now view the Processor tab and you should see that the above option is enabled.
Now we are good to go ahead and run the VM. Click the start button. You can login to the system using below passwords.
user:Csle@2022
Once login open the terminal application to do the rest of the installations.
Network Configuration
First we have do the network configuration. Right now in your network settings DHCP is automatically enabled and you should have a IP address received.
To check the IP address enter below in the terminal.
ip addr show
Now we are going to disable DHCP in our network configurations and enable static IP configuration. We will also put same IP received from DHCP to the static IP configuration to avoid any IP conflict among us. Also notice the interface name. For the VirtualBox VM it will be mostly enp0s3.
If we need the VMs to receive the same IP range as in the Host server, then we need to create a network bridge interface. Network bridge 'virbr0' is already created with NAT enabled. Now need to configure it in bridge mode. Please open the terminal application Change the configuration as in the below,
sudo nano /etc/netplan/50-cloud-init.yaml
network:
  version: 2
  renderer: networkd

  ethernets:
    enp0s3:
      dhcp4: no

  bridges:
    br0:
      dhcp4: no
      interfaces: [enp0s3]
      addresses: [<IP_ADDRESS>/23]
      routes:
      - to: default
        via: 10.1.1.254
        metric: 100
        on-link: true
      nameservers:
        addresses: [192.248.1.161,1.1.1.1]
Once done execute below to test the connection. Before the timeout you can check the connectivity by pinging to the IP from the host computer. if ping is working then press Enter to accept the changes,
sudo netplan try
Once we are done with the network configuration we will go to installation of the KVM.
If you need to connect the VM through the SSH please install below in the VM.
sudo apt install openssh-server
Installation of KVM packages
Before installing KVM on Ubuntu, we are first going to verify if the hardware supports KVM. A minimum requirement for installing KVM is the availability of CPU virtualization extensions such as AMD-V and Intel-VT.
To check whether the Ubuntu system supports hardware virtualization, run the following command.
egrep -c '(vmx|svm)' /proc/cpuinfo
An outcome greater than 0 implies that virtualization is supported
To check if your system supports KVM acceleration execute the command
sudo apt install cpu-checker
sudo kvm-ok
If supported output should be, INFO: /dev/kvm exists KVM acceleration can be used
With the confirmation that our system can support KVM acceleration, we are going to install KVM module on the Ubuntu system. Installation includes KVM modules, dependencies and utilities.
sudo apt install -y qemu qemu-kvm libvirt-daemon libvirt-clients virt-manager bridge-utils
Before proceeding further, we need to confirm that the virtualization daemon – libvirtd-daemon – is running. To do so, execute the command
sudo systemctl status libvirtd
Check if KVM modules are loaded,
lsmod | grep -i kvm
To view available Guest OS variants,
apt install libosinfo-bin
osinfo-query os
Create and Manage VMs using Virt Manager
virt-manager is already installed in above steps. But to create and manage VMs using virt-manager the current user should be a member of the libvirt and kvm user groups. So let us add the Ubuntu user to the above groups.
sudo adduser <user> libvirt
sudo adduser <user> kvm
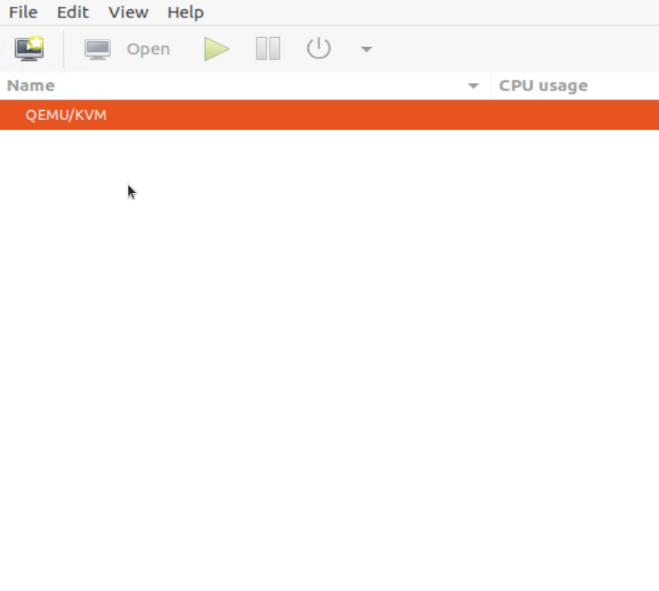
Now to open the virt-manager run,
sudo virt-manager
The virt-manager window will be opened. To create a new VM please click on the icon on the left most side.

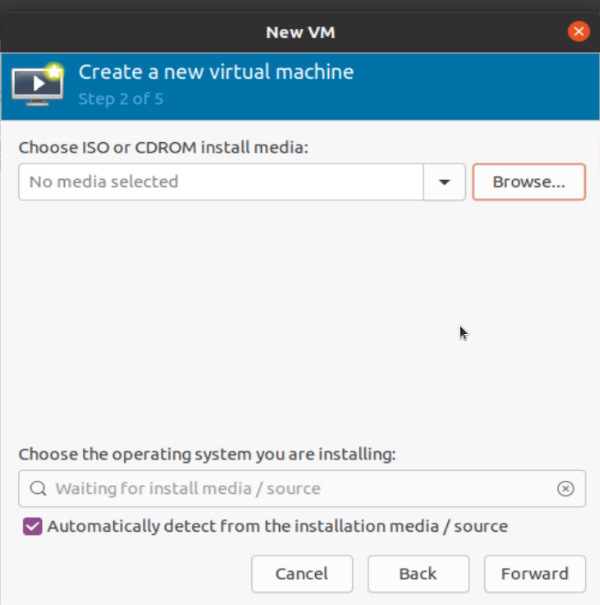
Now VM wizard will appear. Select the option Local Install media (ISO image or CDROM) to install the guest with a ISO image.

Next click on Browse button to select an ISO image.

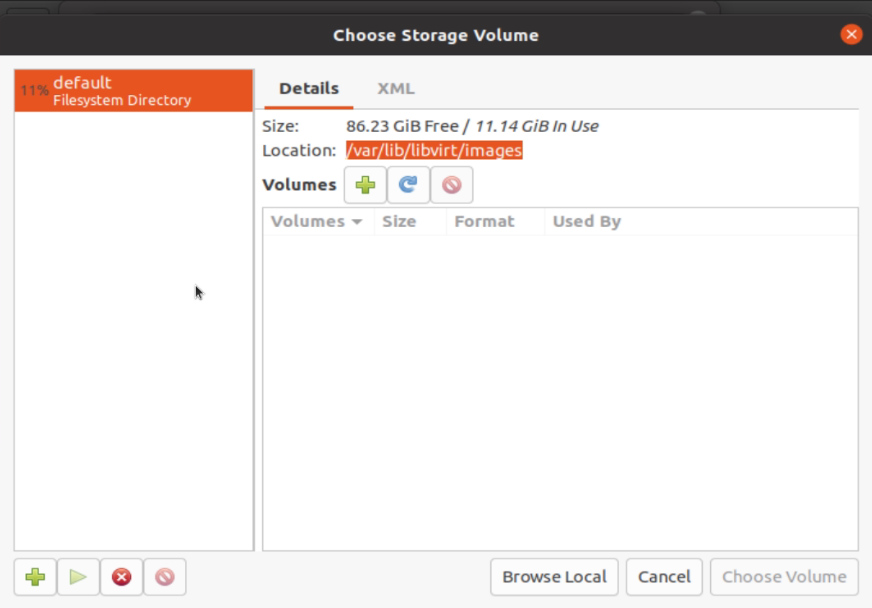
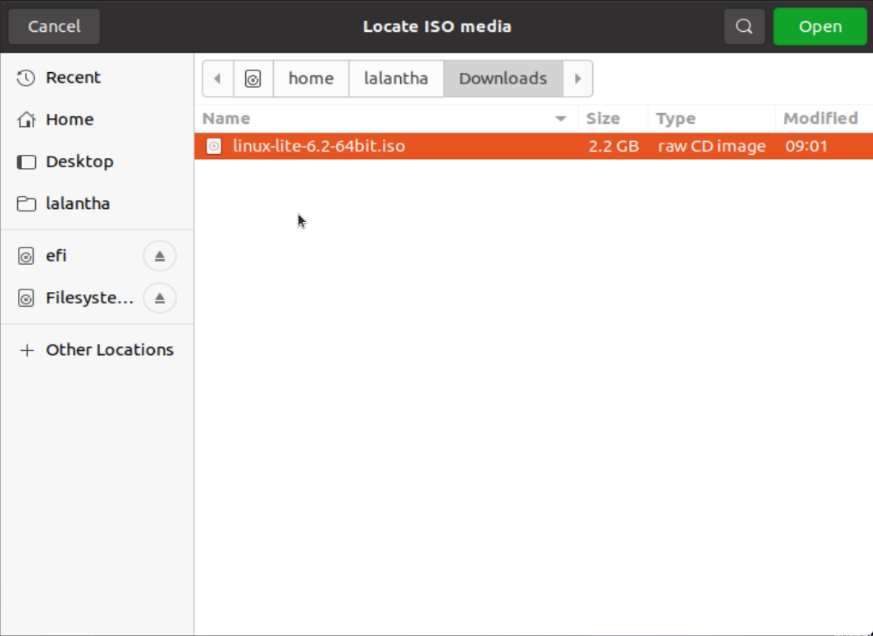
In next window click Browse Local.

And go to the Downloads directory. There should be OS image called linux-lite-6.2-64bit.iso. This is a linux distribution based on Ubuntu. Select it and open.

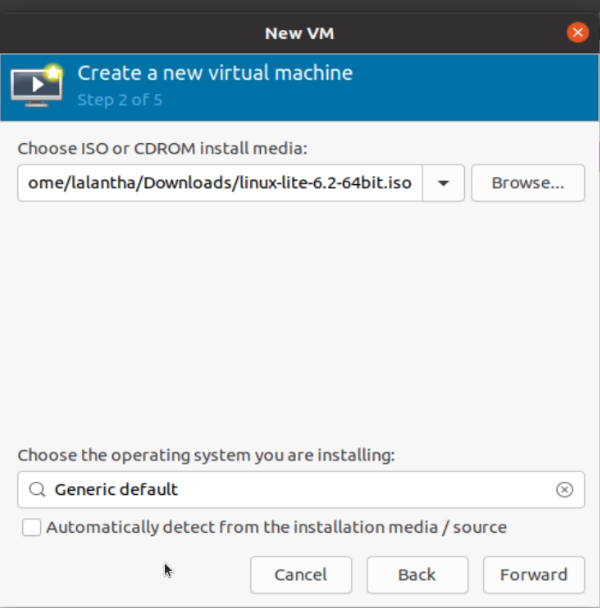
Since Linux Lite is not an very common operating system it will not be automatically detected. So uncheck the checkbox at the bottom of the window as below. Then type Generic default in the above text box. Then select Forward button to go to the next step.

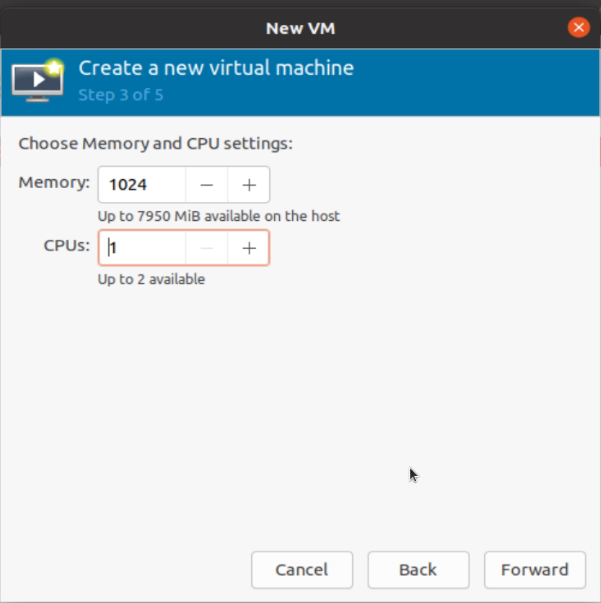
Now you have to specify Memory and number of virtual CPUs for the VM. For this linux distribution minimum of 768MB RAM is required. 1 number of CPU will be good enough. Once given click Forward button.

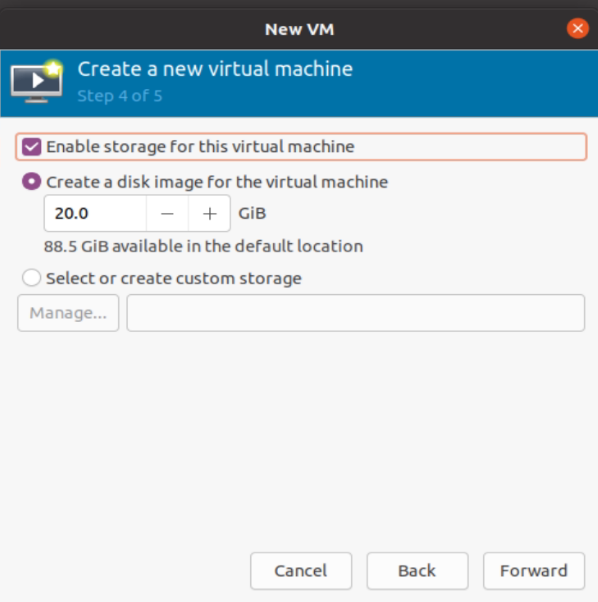
In this window you can specify an hard disk size. For this linux distribution minimum of 8GB storage size is required. Once done select Forward button.

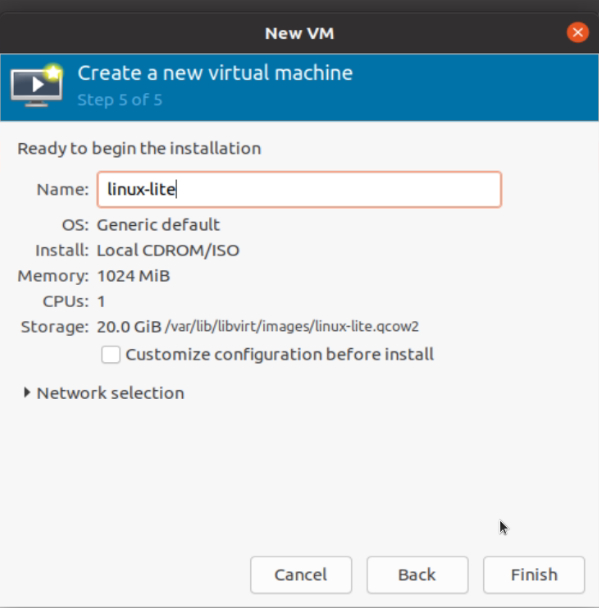
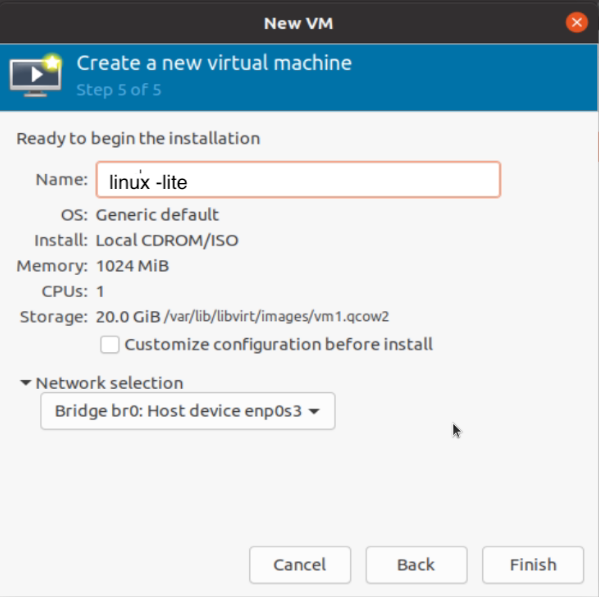
Now you have specify the Name of the VM to be created. You can also unfold the Network Selection to see available network interfaces. Here we will choose bridge interface br0 that we created earlier. Once everything looks good click on Finish to create the VM.

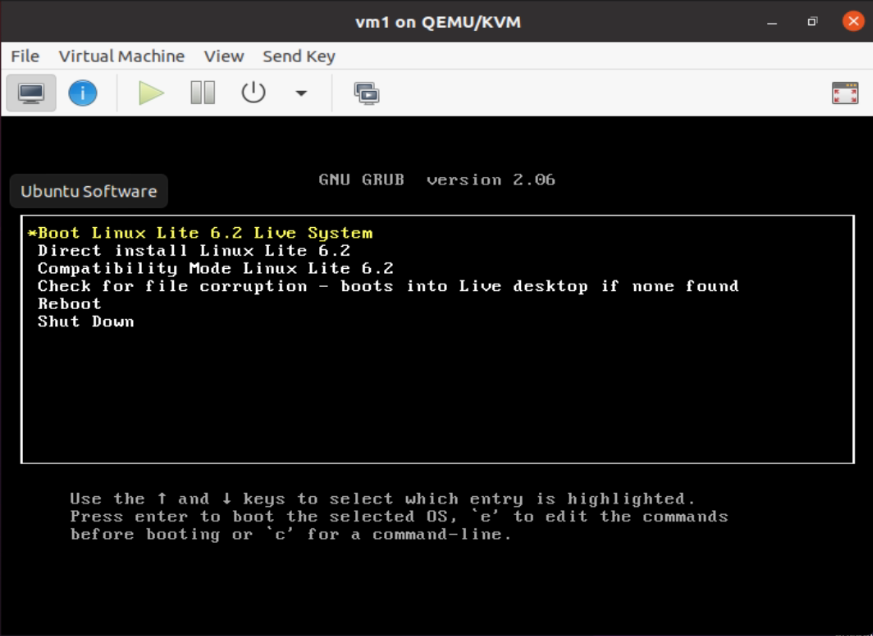
Next comes is the Guest operating system installion Wizard. This shouldn't be new to you. You can either choose to install the operating system on the created VM or choose to boot from the live system inside the ISO image. If you select the first option we can use the operating system without installing in the VM.

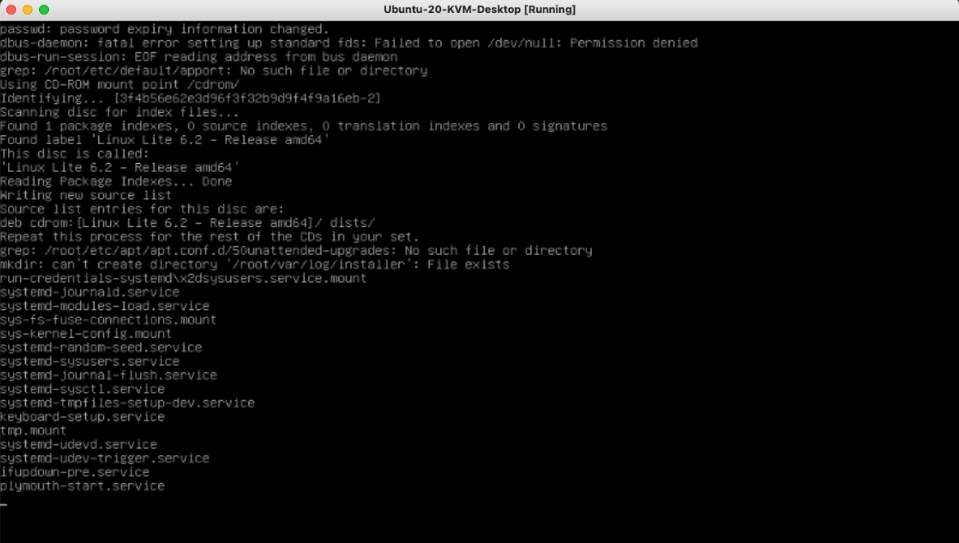
Here we will choose the first option. It will take some time boot from the live system.

Finally you should get into the live Linux Lite desktop.

Create and Manage VMs using Virtual Machine
The virt-install command-line tool is used for creating virtual machines on the terminal. A number of parameters are required when creating a virtual machine.
sudo virt-install --name perfsonar --os-variant centos7.0 --vcpus 4 --ram 16384 --cdrom /home/lg/downloads/pS-Toolkit-4.4.4-CentOS7-FullInstall-x86_64-2022Apr04.iso --network bridge=virbr0,model=virtio --graphics vnc,listen=0.0.0.0 --noautoconsole --disk size=100
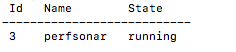
To list the created VM,
virsh list --all

Now the VM is created with a installation image mounted and ready for the installation. To continue the installation we will use a VNC client to connect to the graphical console of the VM. To connect with the VM we need to get the TCP port number the VM is listening on. To get the port number we will execute this first.
virsh vncdisplay perfsonar

The given is the VNC port number which is not exactly same as TCP port number. But we can derive the TCP port number using VNC port number because they have correlation. If the VNC port is :0 then TCP port will be 5900 and if the VNC port is :1 TCP port will be 5901 and so on. Using this relationship we can get the TCP port number and connect the graphical console of the VM. Then we can continue the installation as we normally do in a computer with monitor.
Virtual Machine management
To manage the Virtual machines we can use below commands.
Shutdown/start VM,
virsh shutdown/start vmname
Ungraceful Shutdown VM,
virsh destroy vmname
Delete VM,
virsh undefine vmname
Delete Disk,
virsh vol-delete --vol /var/lib/libvirt/images/sp-vm.qcow2
Attachments (15)
- kvm1.png (6.4 KB ) - added by 4 years ago.
- kvm2.png (7.1 KB ) - added by 4 years ago.
- kvm5.png (36.6 KB ) - added by 4 years ago.
- kvm6.png (102.2 KB ) - added by 4 years ago.
- kvm7.png (98.3 KB ) - added by 4 years ago.
- kvm8.png (90.1 KB ) - added by 4 years ago.
- kvm9.png (86.9 KB ) - added by 4 years ago.
- kvm10.png (103.2 KB ) - added by 4 years ago.
- kvm11.png (73.0 KB ) - added by 4 years ago.
- kvm12.png (93.0 KB ) - added by 4 years ago.
- kvm13.png (105.1 KB ) - added by 4 years ago.
- kvm14.png (112.5 KB ) - added by 4 years ago.
- kvm15.png (103.6 KB ) - added by 4 years ago.
- kvm16.png (140.4 KB ) - added by 4 years ago.
- kvm17.png (150.7 KB ) - added by 4 years ago.
Download all attachments as: .zip