
| Version 5 (modified by , 4 years ago) ( diff ) |
|---|
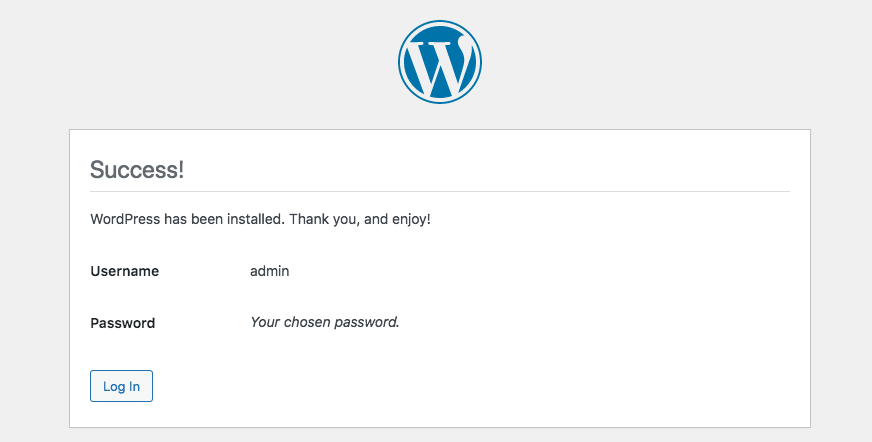
Apache Web Server Installation
perfSONAR Installation Options
First update the Ubuntu package repository.
sudo apt update
Then install the web server.
sudo apt install apache2
Check the apache version
apache2 -v
Now visit your server through the IP address. http://server_ip_address.

PHP Installation
Then install PHP and related modules for apache server and MariaDB.
sudo apt install php libapache2-mod-php php-mysql
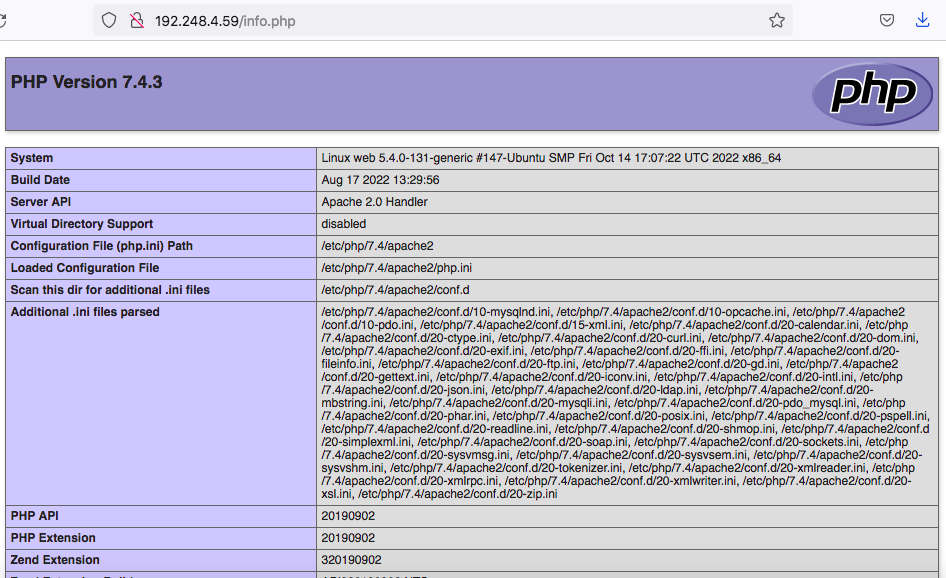
To test that your system is properly configured for PHP, create a PHP script called info.php. Here we will create at the root directory.
sudo nano /var/www/html/info.php
Insert the following command to show the php information.
<?php
phpinfo();
?>
Next go to http://your_IP/info.php URL and you will get page like below,

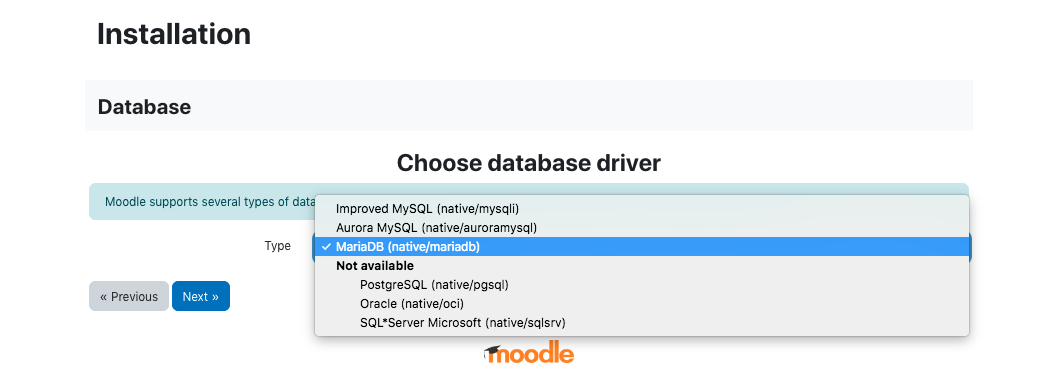
MariaDB DBMS Installation
Here we will choose MariaDB DBMS as our database application. Install this using below command.
sudo apt install mariadb-server mariadb-client
Once installed check the version,
mysql --version
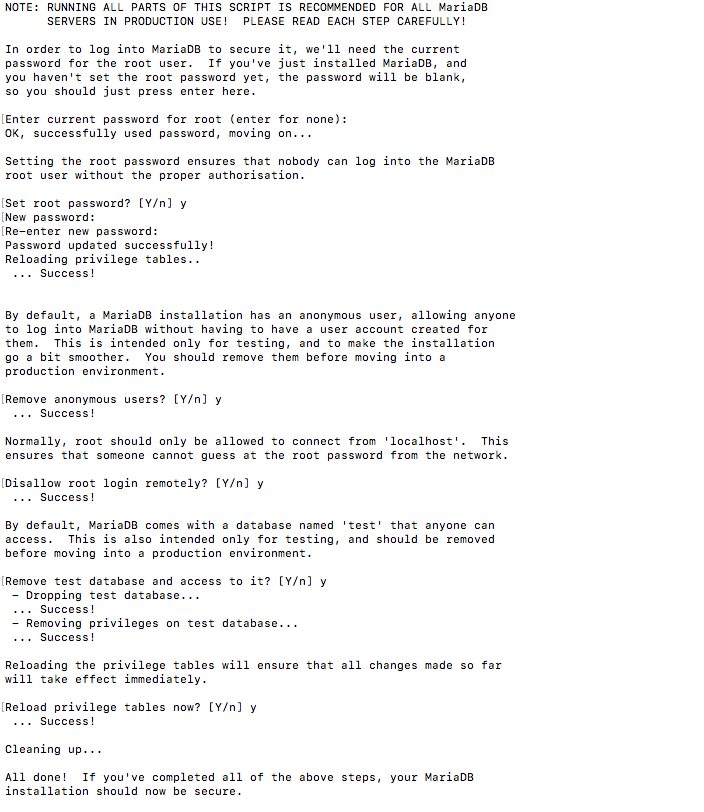
For mysql there is a script that strengthen the mariaDB server security. It is a series of yes no questions which removes initial weaknesses of the server.
To execute the scripts,
sudo mysql_secure_installation

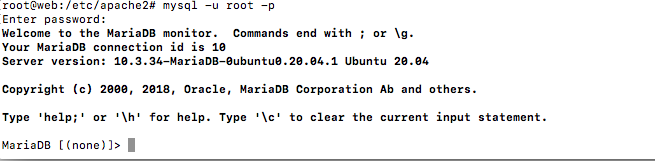
To login MariaDB enter below command and use the password entered above.
sudo mysql -u root -p

To exit type,
exit
Apache Virtual Hosting
Using virtual hosts, one Apache instance can serve multiple websites. Each domain or individual site that is configured using Apache will direct the visitor to a specific directory holding that site’s information. This is done without indicating to the visitor that the same server is also responsible for other sites.
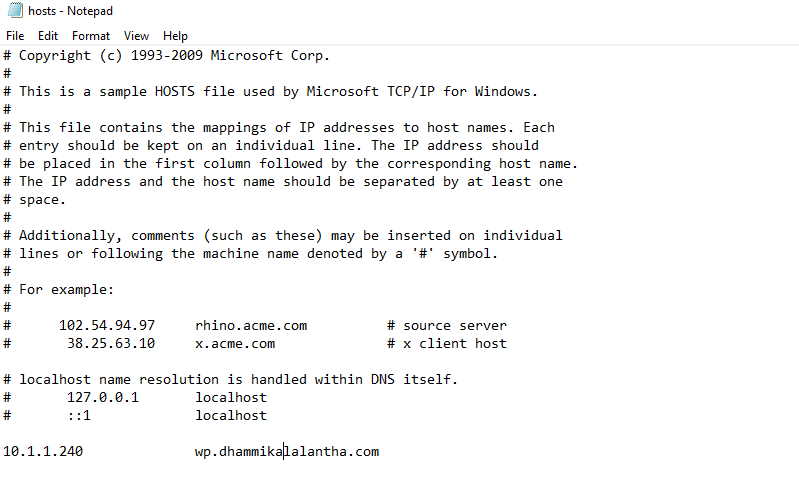
Note: Before creating a virtual host for a web site domain, the particular domain or subdomain should be created. For this please contact your domain manager of your institutional IT department or relevant domain company. Then this domain should be assigned a DNS entry (A or AAAA record) to work on a web browser. In our case DNS entry should be pointed to your server IP.
Presuming you meet the prerequisites below will be the steps to create virtual hosts.
First you need to create a appropriate directory structure for each website hosted under each domain. By default root web directory in a Ubuntu system will be /var/www/html. For our setup we will use below directory structure for each site.
web site for domain 1 - /var/www/your_domain_1/public_html web site for domain 2 - /var/www/your_domain_2/public_html web site for domain 3 - /var/www/your_domain_3/public_html
In our example we hope to create three subdomains called web,sales and lms. So the full domain names will be web.your_domain.com, sales.your_domain.com and lms.your_domain.com respectively. Use these commands, with your own domain names, to create your directories:
sudo mkdir -p /var/www/web.your_domain/public_html
sudo mkdir -p /var/www/sales.your_domain/public_html
sudo mkdir -p /var/www/lms.your_domain/public_html
We are going to install moodle under lms subdomain. For other two domains we will create dummy web pages for each.
sudo nano /var/www/web.your_domain/public_html/index.html
<!DOCTYPE html>
<html lang="en" dir="ltr">
<head>
<meta charset="utf-8">
<title>Welcome to WEB</title>
</head>
<body>
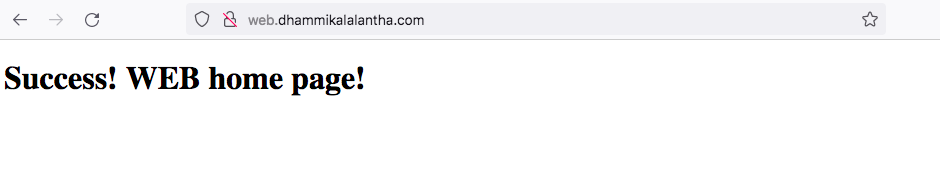
<h1>Success! WEB home page!</h1>
</body>
</html>
Also create a similar page for the sales sub-domain.
Once created with a sample web site we have to change ownership of the directories to the web server user.
sudo chown -R www-data: /var/www/*
Now we are done with creating web sites and directories. Now we need to do the actual apache server configurations for the virtual hosting.
On Ubuntu systems, Apache Virtual Hosts configuration files are located in /etc/apache2/sites-available directory. They can be enabled by creating symbolic links to the /etc/apache2/sites-enabled directory, which Apache read during the startup. Here we need to create a seperate configuration file for each domain/sub-domain as below.
sudo nano /etc/apache2/sites-available/web.your_domain.com.conf
And add the below configurations,
<VirtualHost *:80>
    ServerName web.dhammikalalantha.com
    ServerAlias web.dhammikalalantha.com
    ServerAdmin webmaster@dhammikalalantha.com
    DocumentRoot /var/www/web.dhammikalalantha.com/public_html

    <Directory /var/www/web.dhammikalalantha.com/public_html>
        Options -Indexes +FollowSymLinks
        AllowOverride All
    </Directory>

    ErrorLog ${APACHE_LOG_DIR}/web.dhammikalalantha.com-error.log
    CustomLog ${APACHE_LOG_DIR}/web.dhammikalalantha.com-access.log combined
</VirtualHost>
Similarly do the necessary configurations for the domain sales.
sudo nano /etc/apache2/sites-available/sales.your_domain.com.conf
<VirtualHost *:80>
    ServerName sales.dhammikalalantha.com
    ServerAlias sales.dhammikalalantha.com
    ServerAdmin webmaster@sales.dhammikalalantha.com
    DocumentRoot /var/www/sales.dhammikalalantha.com/public_html

    <Directory /var/www/sales.dhammikalalantha.com/public_html>
        Options -Indexes +FollowSymLinks
        AllowOverride All
    </Directory>

    ErrorLog ${APACHE_LOG_DIR}/sales.dhammikalalantha.com-error.log
    CustomLog ${APACHE_LOG_DIR}/sales.dhammikalalantha.com-access.log combined
</VirtualHost>
Once we do the configurations we have to enable the created sites as below,
sudo a2ensite web.dhammikalalantha.com
sudo a2ensite sales.dhammikalalantha.com
Once done, test the configuration for any syntax errors with.
sudo apachectl configtest
Restart the Apache service for the changes to take effect.
sudo systemctl restart apache2
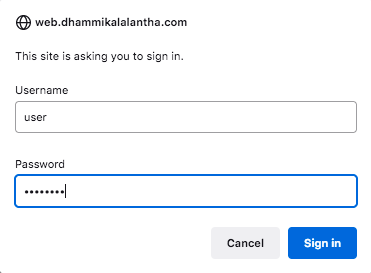
Now that you have your virtual hosts configured, you can test your setup by going to the domains that you configured in your web browser. Below will be the output for the sites we created.

Also check the other site created.
Attachments (29)
- web1.png (195.5 KB ) - added by 4 years ago.
- web2.png (114.4 KB ) - added by 4 years ago.
- web3.png (28.7 KB ) - added by 4 years ago.
- web4.png (24.9 KB ) - added by 4 years ago.
- web5.png (206.2 KB ) - added by 4 years ago.
- web6.png (55.9 KB ) - added by 4 years ago.
- web7.png (116.6 KB ) - added by 4 years ago.
- web8.png (57.7 KB ) - added by 4 years ago.
- web9.png (92.1 KB ) - added by 4 years ago.
- web10.png (80.2 KB ) - added by 4 years ago.
- web11.png (287.8 KB ) - added by 4 years ago.
- web12.png (12.0 KB ) - added by 4 years ago.
- web13.png (63.5 KB ) - added by 4 years ago.
- web14.png (116.4 KB ) - added by 4 years ago.
- web15.png (156.3 KB ) - added by 4 years ago.
- web16.png (122.1 KB ) - added by 4 years ago.
- web17.png (83.4 KB ) - added by 4 years ago.
- web18.png (66.0 KB ) - added by 4 years ago.
- web19.png (118.5 KB ) - added by 4 years ago.
- web20.png (31.0 KB ) - added by 4 years ago.
- web21.png (30.2 KB ) - added by 4 years ago.
- web22.png (336.5 KB ) - added by 4 years ago.
- web23.png (97.0 KB ) - added by 4 years ago.
- web24.png (93.8 KB ) - added by 4 years ago.
- web25.png (30.1 KB ) - added by 4 years ago.
- web33.png (16.2 KB ) - added by 4 years ago.
- web29.png (470.2 KB ) - added by 4 years ago.
- web30.png (31.1 KB ) - added by 4 years ago.
- web31.png (25.2 KB ) - added by 4 years ago.