
| Version 54 (modified by , 5 years ago) ( diff ) |
|---|
Configuring LibreNMS on Ubuntu 20.04 LTS
This will guide you through installing LibreNMS setup on Ubuntu 20.04 LTS server with NGINX running as the web server.
Requirements
- Linux Server running Ubuntu 20.04 LTS
- NGINX Installed.
- SSL/ HTTPS Certificates issued
- sudo access to the server. All following commands have to be entered as the root user. Best way to do it is, by login in as root with
sudo su
Installation Packages
apt install software-properties-common
add-apt-repository universe
apt update
apt install acl curl composer fping git graphviz imagemagick mariadb-client mariadb-server mtr-tiny nginx-full nmap php7.4-cli php7.4-curl php7.4-fpm php7.4-gd php7.4-json php7.4-mbstring php7.4-mysql php7.4-snmp php7.4-xml php7.4-zip rrdtool snmp snmpd whois unzip python3-pymysql python3-dotenv python3-redis python3-setuptools python3-systemd
Adding User for LibreNMS
Adding user into LibreNMS
useradd librenms -d /opt/librenms -M -r -s "$(which bash)"
Clone LibreNMS fron github
Change the directory to
cd /opt
Then run this script
git clone https://github.com/librenms/librenms.git
After that, Setting Permission for LibreNMS
chown -R librenms:librenms /opt/librenms
chmod 771 /opt/librenms
setfacl -d -m g::rwx /opt/librenms/rrd /opt/librenms/logs /opt/librenms/bootstrap/cache/ /opt/librenms/storage/
setfacl -R -m g::rwx /opt/librenms/rrd /opt/librenms/logs /opt/librenms/bootstrap/cache/ /opt/librenms/storage/
Installing PHP dipendencies
su - librenms
./scripts/composer_wrapper.php install --no-dev
exit
If this script fails, The workaround is to install the composer package manually.
Set timeZone for LibreNMS
In this link you can select your timezone https://php.net/manual/en/timezones.php (Asia/ Colombo)
Ensure date.timezone is set in php.ini to your preferred time zone. (you can use nano or vi to edit)
vi /etc/php/7.4/fpm/php.ini
vi /etc/php/7.4/cli/php.ini
set the time zone
timedatectl set-timezone Etc/UTC (Asia/ Colombo)
;date.timezone = Asia/Colombo (remove ";" and add Asia/ Colombo)
Configuring Maria DB
Use vi or nano to edit
vi /etc/mysql/mariadb.conf.d/50-server.cnf
Add these within the [mysqld]
innodb_file_per_table=1
lower_case_table_names=0
after adding the above lines, save and exit. Then, enable and restart the DB
systemctl enable mariadb
systemctl restart mariadb
loggin to the db
mysql -u root
now you have to create a database for LibreNMS
Configure PHP-FPM
cp /etc/php/7.4/fpm/pool.d/www.conf /etc/php/7.4/fpm/pool.d/librenms.conf
vi /etc/php/7.4/fpm/pool.d/librenms.conf
Change [www] to [librenms]
[librenms]
Change user and group to "librenms":
user = librenms
group = librenms
Change listen to a unique name:
listen = /run/php-fpm-librenms.sock
Web server configuration
vi /etc/nginx/conf.d/librenms.conf
edit server_name as required:
restart nginx and php
rm /etc/nginx/sites-enabled/default
systemctl restart nginx
systemctl restart php7.4-fpm
Enable lnms command completion
ln -s /opt/librenms/lnms /usr/bin/lnms
cp /opt/librenms/misc/lnms-completion.bash /etc/bash_completion.d/
Configure snmpd
cp /opt/librenms/snmpd.conf.example /etc/snmp/snmpd.conf
vi /etc/snmp/snmpd.conf
RANDOMSTRINGGOESHERE and set your own community string
curl -o /usr/bin/distro https://raw.githubusercontent.com/librenms/librenms-agent/master/snmp/distro
chmod +x /usr/bin/distro
systemctl enable snmpd
systemctl restart snmpd
Cron job
cp /opt/librenms/librenms.nonroot.cron /etc/cron.d/librenms
Copy logrotate config
LibreNMS keeps logs in /opt/librenms/logs. Over time these can become large and be rotated out. To rotate out the old logs you can use the provided logrotate config file:
cp /opt/librenms/misc/librenms.logrotate /etc/logrotate.d/librenms
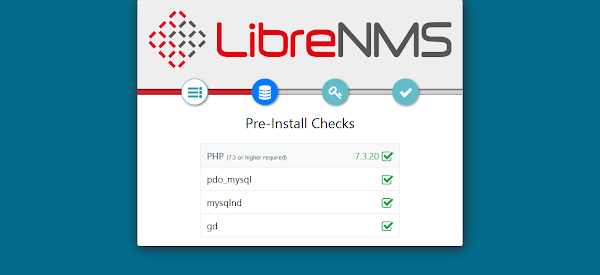
Web installer
chown librenms:librenms /opt/librenms/config.php
Final Steps
Use your Ip address in the browser and you will load the below setup page.
Troubleshooting
sudo su - librenms
./validate.php
Login in to LibreNMS
Once you finish setting up , its time to log into the system. Use your IP address in the browser and you will load the below page.In here the web installer will prerequisite check.
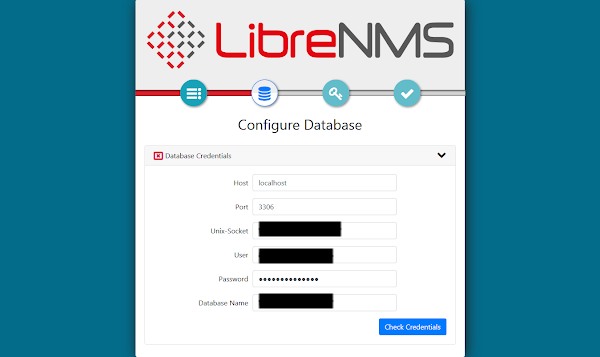
Next, Provide MySQL server connection details and build a database for LibreNMS network monitoring software.
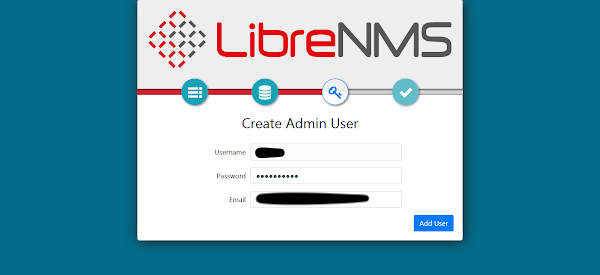
Creating User
Finish Installation
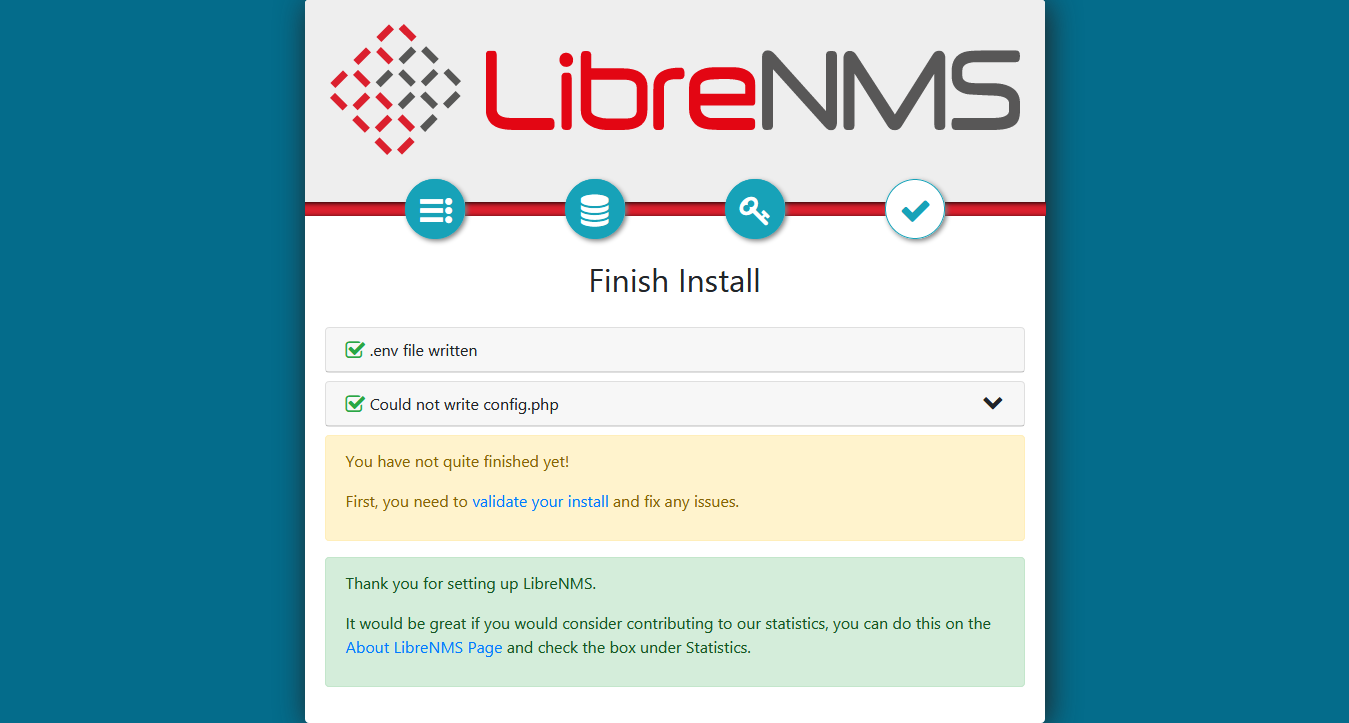
Click on 'Validate your Install' Then, you will direct to LibreNMS login page. Use your credentials to log in.
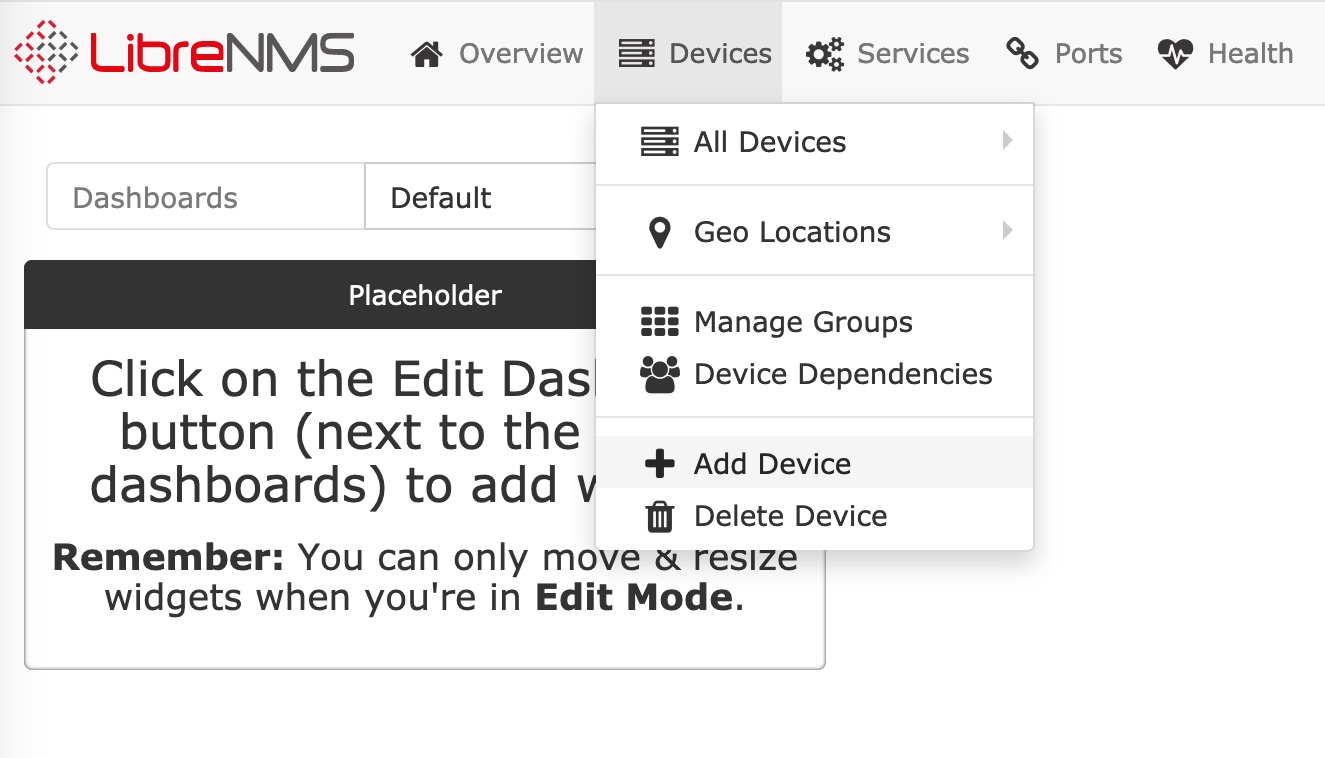
Adding a device
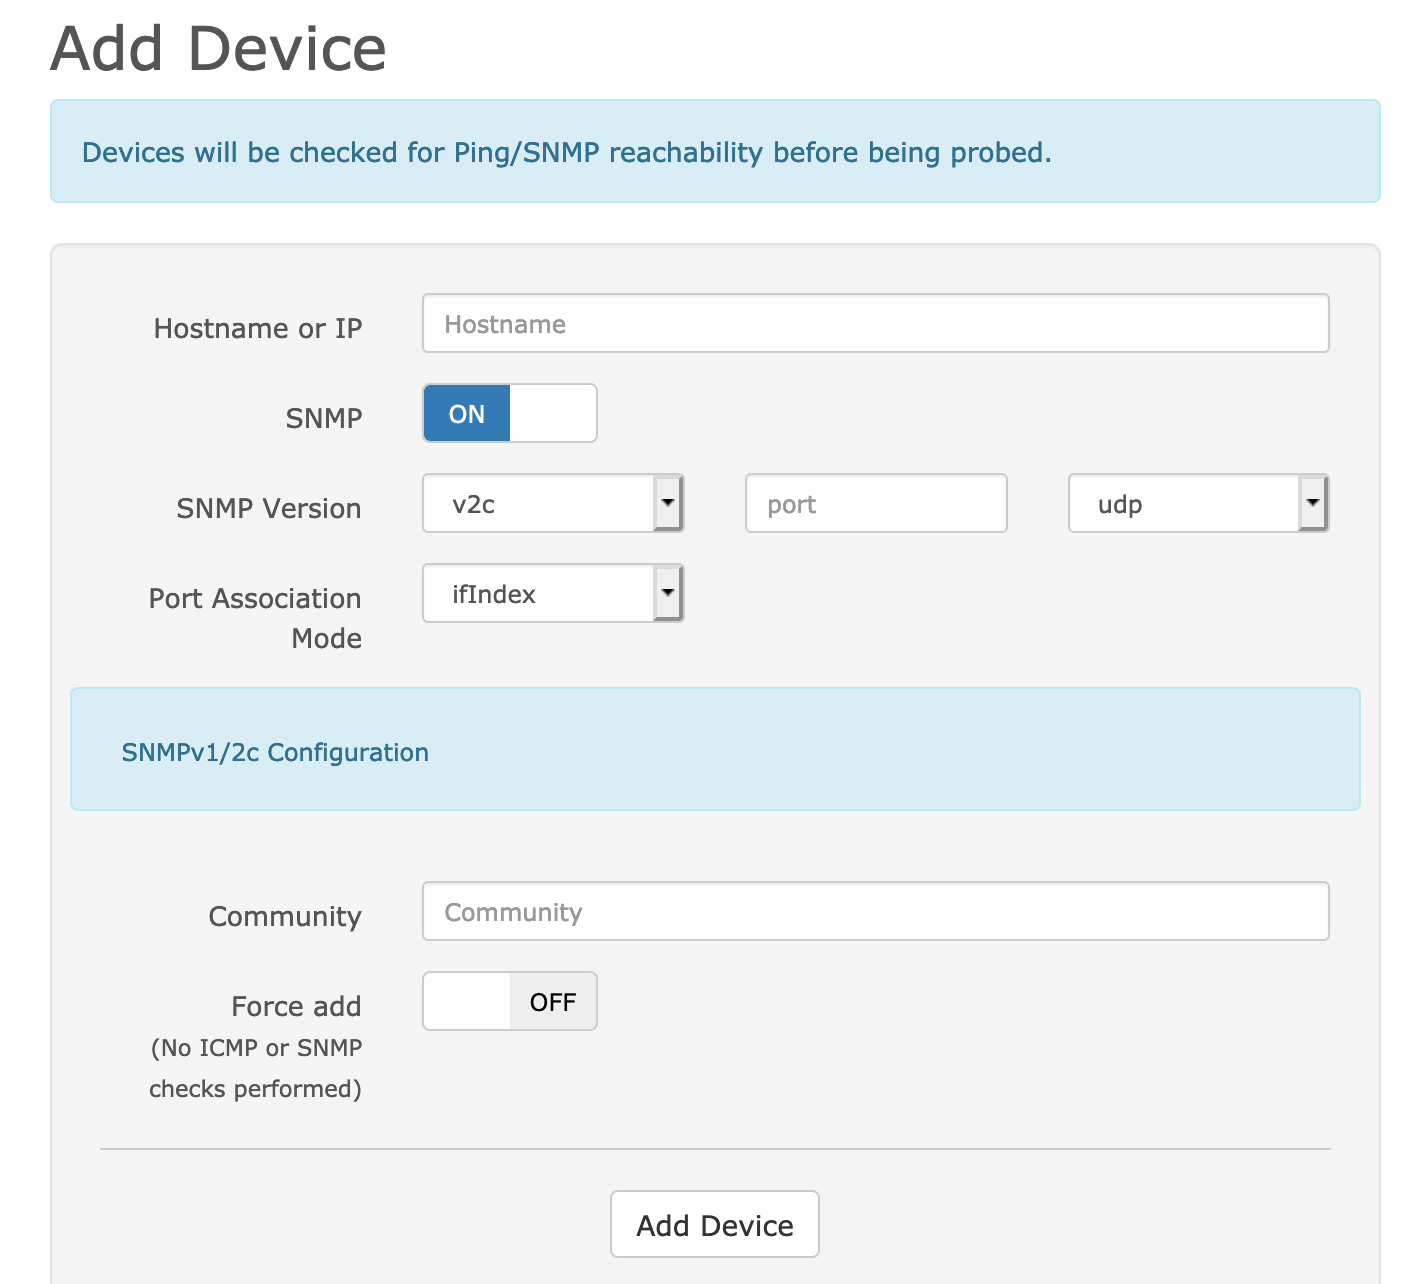
To add a device click on Devices and click on Add Devices
Once you click on Add Device you will appear the below page. By entering Hostname or IP and Community you can add a device to the system.
Attachments (7)
- add-device.jpg (158.4 KB ) - added by 5 years ago.
- pre-install-check.png (28.2 KB ) - added by 5 years ago.
- libre-final.png (50.5 KB ) - added by 5 years ago.
- config-db.png (41.4 KB ) - added by 5 years ago.
- create-user.png (34.9 KB ) - added by 5 years ago.
- login.png (92.7 KB ) - added by 5 years ago.
- add-device-system.png (129.8 KB ) - added by 5 years ago.
Download all attachments as: .zip