| Version 7 (modified by , 3 years ago) ( diff ) |
|---|
Github administration
Browse https://github.com and Signup/login for a Github account
Install Git and create a Github account
To see if you already have Git installed, open up your terminal application.
Once you've opened your terminal application, type git version. The output will either tell you which version of Git is installed, or it will alert you that git is an unknown command. If it's an unknown command, read further and find out how to install Git.
Install git:
Git packages are available using apt.
It's a good idea to make sure you're running the latest version. To do so, Navigate to your command prompt shell and run the following command to make sure everything is up-to-date: sudo apt-get update.
To install Git, run the following command: sudo apt-get install git-all.
Once the command output has completed, you can verify the installation by typing: git version.
To create the github account:
Navigate https://github.com and signup with your details
Install source tree on your computer
Create a local Git repo
Every git repository has three trees. A working directory, Index and Head.
- Working directory: It contains the actual project files.
- Index: It is the staging area where you add the project files that needs to be committed.
- Head: Head is where the reference to you previous commit exists.
git init is one way to start a new project with Git. To start a repository, use either git init or git clone - not both.
To initialize a repository, Git creates a hidden directory called
.git. That directory stores all of the objects and refs that Git uses and creates as a part of the project's history. This hidden.gitdirectory is what separates a regular directory from a Git repository.
git init: One Person Starting a New Repository Locally
git clone: The Remote Already Exists
Add a new file to the repo
From web UI
1.On GitHub.com, navigate to the main page of the repository.
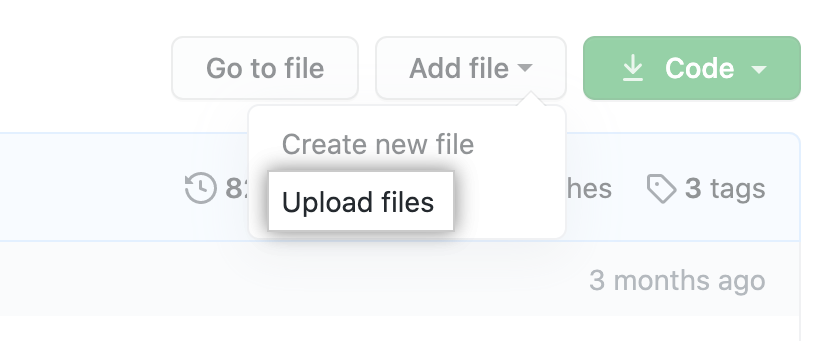
2.Above the list of files, using the Add file drop-down, click Upload files.
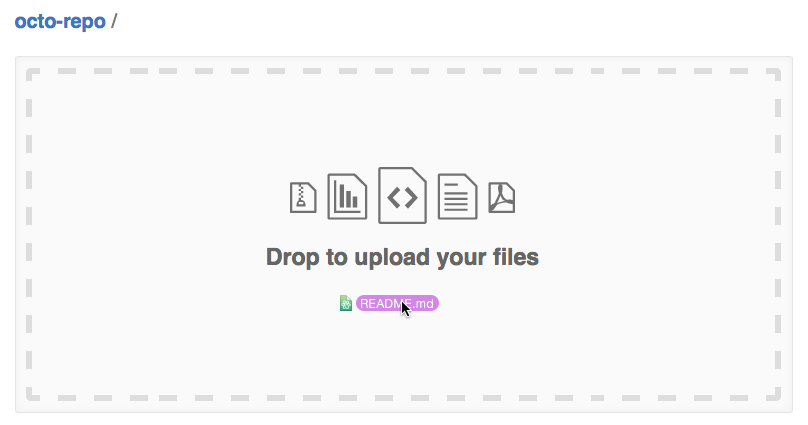
3.Drag and drop the file or folder you'd like to upload to your repository onto the file tree.
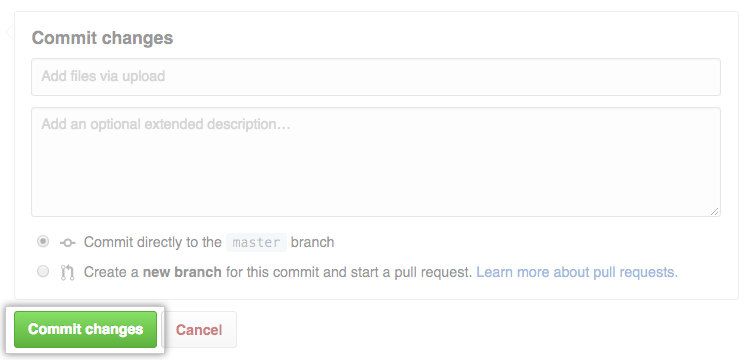
4.At the bottom of the page, type a short, meaningful commit message that describes the change you made to the file. You can attribute the commit to more than one author in the commit message.
5.Below the commit message fields, decide whether to add your commit to the current branch or to a new branch. If your current branch is the default branch, you should choose to create a new branch for your commit and then create a pull request.
6.Click Commit changes.
From the terminal
1.On your computer, move the file you'd like to upload to GitHub into the local directory that was created when you cloned the repository.
2.Open Terminal.
3.Change the current working directory to your local repository.
4.Stage the file for commit to your local repository.
$ git add .
# Adds the file to your local repository and stages it for commit. To unstage a file, use 'git reset HEAD YOUR-FILE'.
5.Commit the file that you've staged in your local repository.
$ git commit -m "Add existing file"
# Commits the tracked changes and prepares them to be pushed to a remote repository. To remove this commit and modify the file, use 'git reset --soft HEAD~1' and commit and add the file again.
6.Push the changes in your local repository to GitHub.com.
$ git push origin YOUR_BRANCH
# Pushes the changes in your local repository up to the remote repository you specified as the origin
Add a file to the staging environment
The "add" command marks changes to be included in the next commit.
It adds changes to Git's "Staging Area", the contents of which can then be wrapped up in a new revision with the "git commit" command.
You can provide one or multiple paths and thereby add changes in these files to the Staging Area:
git add file1 file2
These changes will then be part of the next commit.
In case you want all current modifications in your project to be added to the Staging Area (including deletions and new files), you can simply use "--all" or "-A":
git add --all
Create a commit
Commits are the building blocks of "save points" within Git's version control.
git commit -m "update the README.md"
Create a branch
From web GUI
1.On GitHub.com, navigate to the main page of the repository.
2.Above the list of files, click Branches.
3.Click New branch.
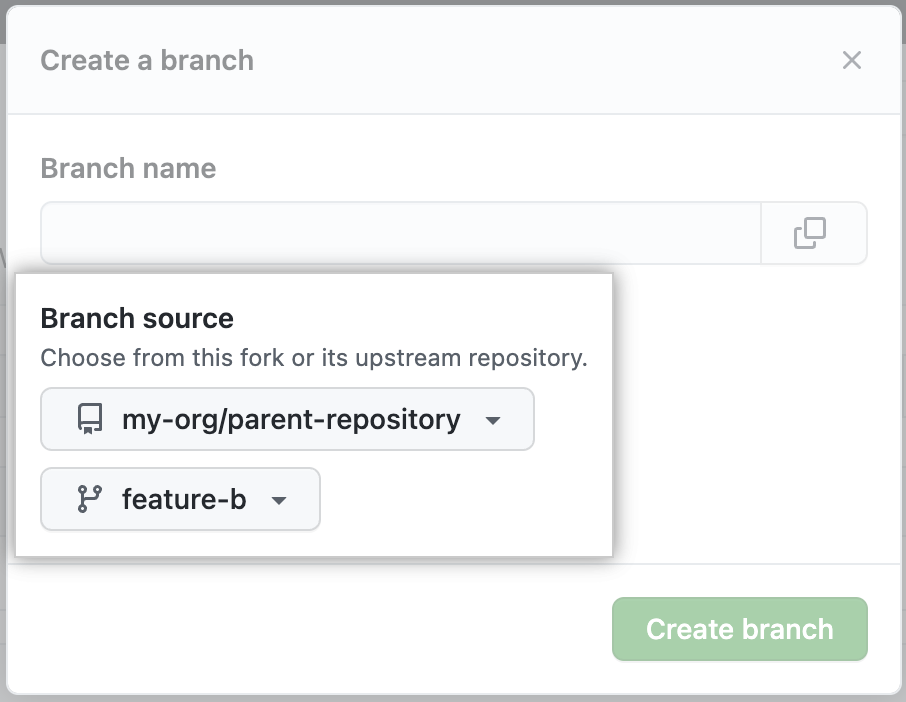
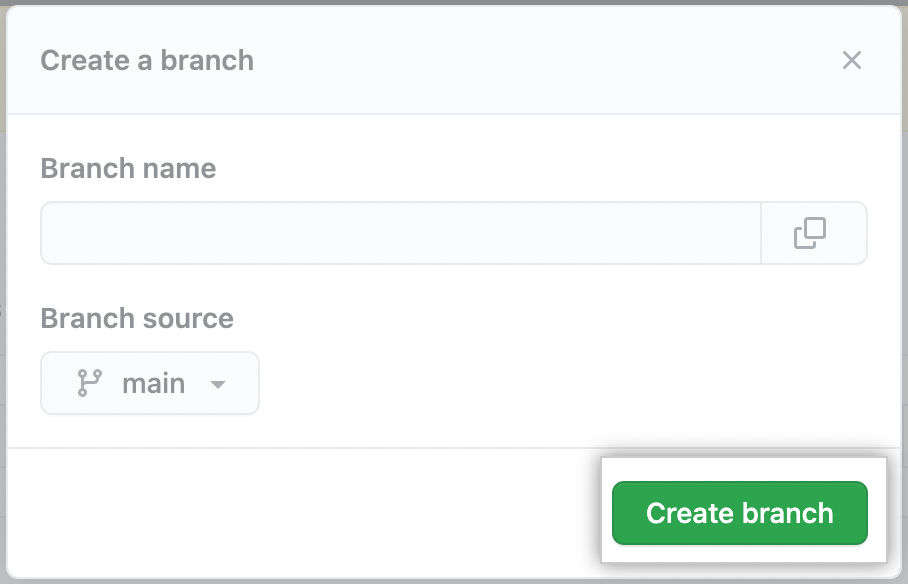
4.In the dialog box, enter the branch name and optionally change the branch source. If the repository is a fork, you also have the option to select the upstream repository as the branch source.
5.Click Create branch.
Creating a branch using the branch dropdown
1.On GitHub.com, navigate to the main page of the repository.
- Optionally, if you want to create the new branch from a branch other than the default branch of the repository, click Branches then choose another branch.
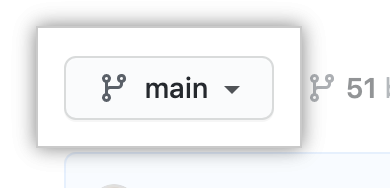
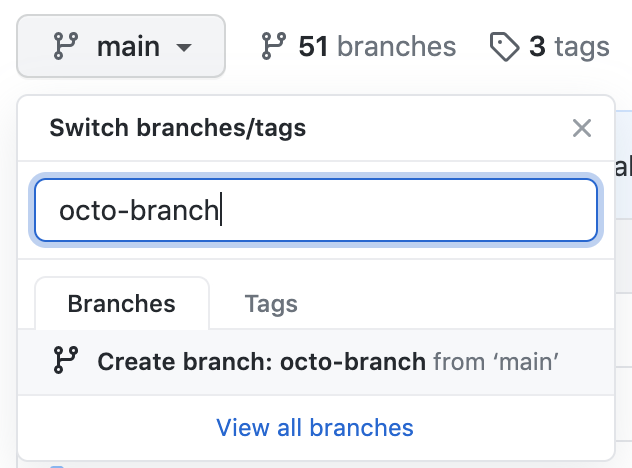
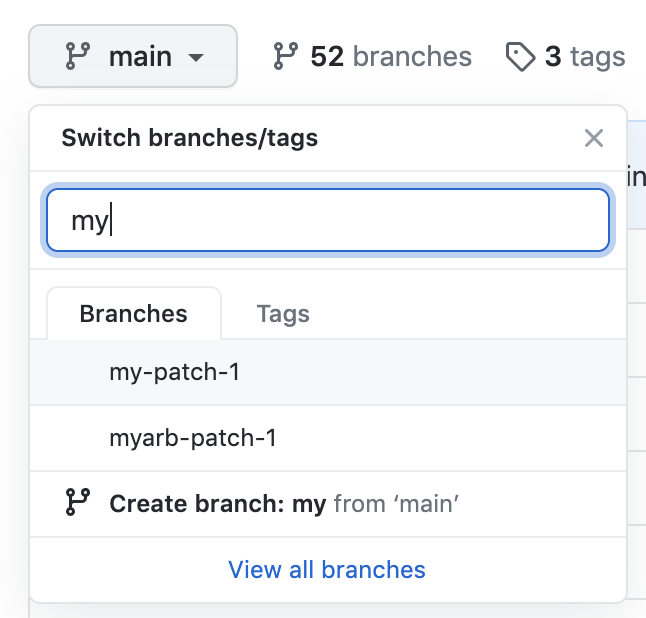
3.Click the branch selector menu.
4.Type a unique name for your new branch, then select Create branch.
Create a pull request
1.On GitHub.com, navigate to the main page of the repository.
2.In the "Branch" menu, choose the branch that contains your commits.
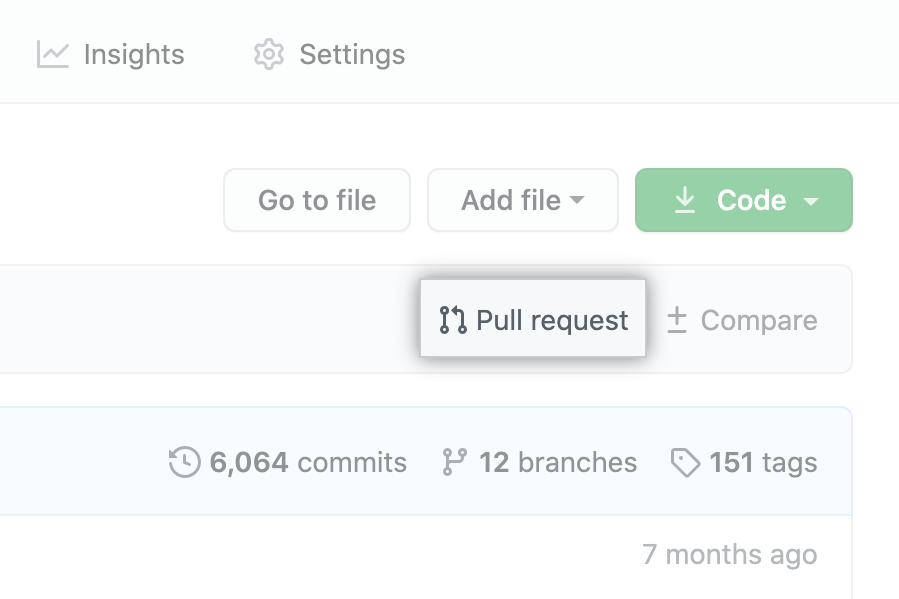
3.Above the list of files, click Pull request.
4.Use the base branch dropdown menu to select the branch you'd like to merge your changes into, then use the compare branch drop-down menu to choose the topic branch you made your changes in.
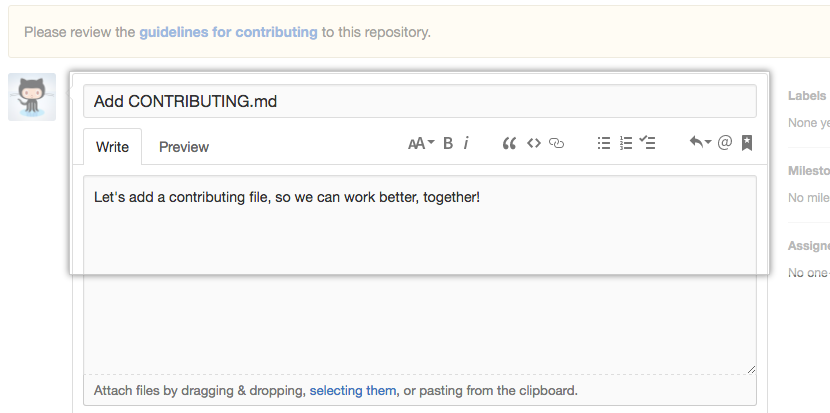
- Type a title and description for your pull request.
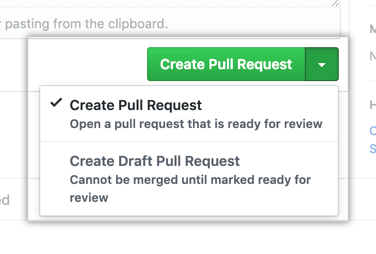
6.To create a pull request that is ready for review, click Create Pull Request. To create a draft pull request, use the drop-down and select Create Draft Pull Request, then click Draft Pull Request.
Get changes on your Github back your computer
Checking out a repository
You can create a copy of your git repository using the clone command. Execute the following command to clone your project directory.
git clone /path/to/project-repository
Reference - Github docs
Attachments (18)
- upload-files-button.png (25.7 KB ) - added by 3 years ago.
- upload-files-drag-and-drop.png (9.9 KB ) - added by 3 years ago.
- write-commit-message-quick-pull.png (9.2 KB ) - added by 3 years ago.
- choose-commit-branch.png (31.4 KB ) - added by 3 years ago.
- commit-changes-button.png (19.3 KB ) - added by 3 years ago.
- branches-overview-link-2.png (105.3 KB ) - added by 3 years ago.
- new-branch-button.png (103.7 KB ) - added by 3 years ago.
- branch-creation-popup-branch-source.png (29.7 KB ) - added by 3 years ago.
- branch-creation-popup-button.png (66.6 KB ) - added by 3 years ago.
- branches-overview-link-3.png (105.3 KB ) - added by 3 years ago.
- branch-selection-dropdown.png (6.1 KB ) - added by 3 years ago.
- branch-creation-text-box.png (26.0 KB ) - added by 3 years ago.
- branch-dropdown.png (29.1 KB ) - added by 3 years ago.
- branch-dropdown-2.png (29.1 KB ) - added by 3 years ago.
- pull-request-start-review-button.png (25.9 KB ) - added by 3 years ago.
- choose-base-and-compare-branches.png (34.1 KB ) - added by 3 years ago.
- pullrequest-description.png (28.2 KB ) - added by 3 years ago.
- pullrequest-send.png (25.6 KB ) - added by 3 years ago.
Download all attachments as: .zip


