
| Version 2 (modified by , 7 years ago) ( diff ) |
|---|
LibreNMS GUI configuration
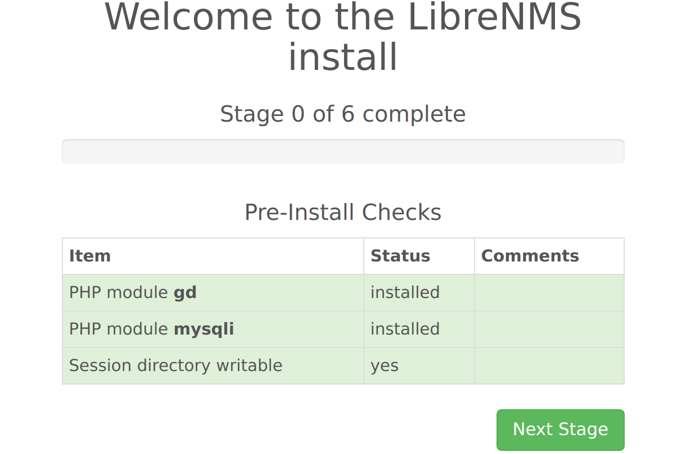
As you have completed the CLI steps of LibreNMS installation procedure, rest of the configuration is done through the web UI. Go to http://librenms.inst.ac.lk/install.php and continue.

Please check permission librenms directory before proceeding step 2
chmod 775 -R /opt/librenms
Proceed to configure database connection, and add an admin user.

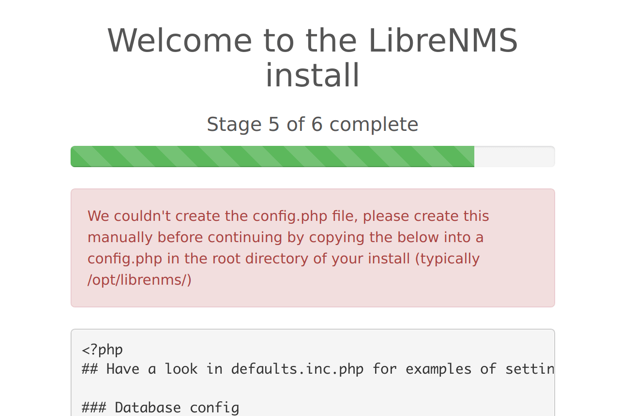
On step 5, the web installer might prompt you to create a config.php file in your librenms install location manually, copying the content displayed on-screen to the file.
sudo vim /opt/librenms/config.php

If you have to do this, please remember to set the permissions on config.php after you copied the on-screen contents to the file. Run:
sudo chown librenms:librenms /opt/librenms/config.php
Now you have a ready LibreNMS Monitoring tool, validate the installation by clicking validate your install and fix any issues link or using:
# cd /opt/librenms
# ./validate.php
====================================
Component | Version
--------- | -------
LibreNMS  | 1.42
DB Schema | 257
PHP       | 7.2.7-0ubuntu0.18.04.2
MySQL     | 10.3.8-MariaDB-1:10.3.8+maria~bionic-log
RRDTool   | 1.7.0
SNMP      | NET-SNMP 5.7.3
====================================

[OK]    Composer Version: 1.6.5
[OK]    Dependencies up-to-date.
[OK]    Database connection successful
[OK]    Database schema correct
[WARN]  You have not added any devices yet.
        [FIX] You can add a device in the webui or with ./addhost.php
[WARN]  Your local git contains modified files, this could prevent automatic updates.
        [FIX] You can fix this with ./scripts/github-remove
        Modified Files:
         rrd/.gitignore
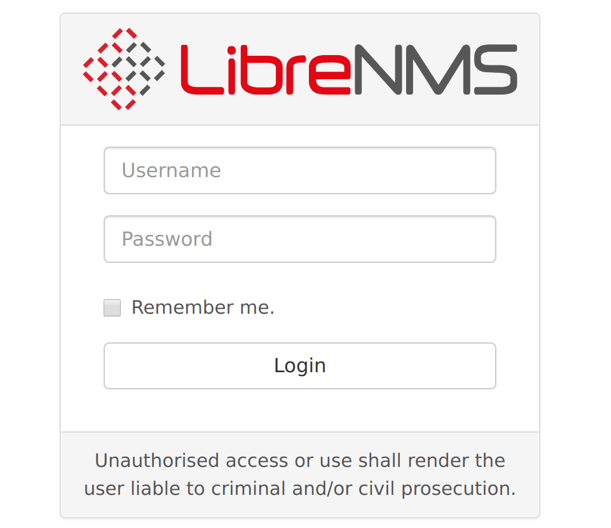
Login to LibreNMS Admin portal and start configuring your Network Monitoring

Attachments (4)
- LibreNMSstep0.png (72.2 KB ) - added by 7 years ago.
- LibreNMSStep3.png (41.5 KB ) - added by 7 years ago.
- LibreNMSStep5.png (80.3 KB ) - added by 7 years ago.
- LibreNMSLogin.png (68.9 KB ) - added by 7 years ago.
Download all attachments as: .zip